Tag Archive | blanket

A winter project

Here is a little project I have been working on occasionally this fall. I have not quite decided what it’s going to be. right now I am just playing. I also posted this to Ravelry so if you are a member there you may have seen it. I am using the Multi looms because this is sock weight yarn. I bought it at OFFF and have the label somewhere, I’ll look it up. It is hand dyed superwash wool, that I do remember. But after weaving a couple 6” squares, I knew I was going to get bored before the entire large skein was done so got the idea to make 6” squares using the other sizes. I have not run out of options yet. And have not decided if I am going to involve the triangles or not. As you can see I have also not done anything with the tails either. But it is kind of interesting to see how close to the original 6” I can get. The top center block was put together by sc each side and then slip stitched the two sides together. I like how that looks but found that it makes the block just a tince too wide and with more than one seam it makes them way too wide. That could be compensated for by working an edging around the outside of the block but I decided to go with a narrower join, just one row of sc. I chose this dark maroon yarn because I thought it toned the red & green down a bit and also being a bit smaller yarn the seams would be a little less bulky. It’s already been redone once and is still subject to frogging. And I expect it’s going to be a long time finishing. 🙂
Samples

  1. 4×6 & three 2×2
  2. 4×6 & 2×6
  3. Three 2×6
  4. 2×6 & three 2×4
  5. One 6”

Eye Candy!

Karen in Florida wove this heirloom quality blanket on her 12″ square. One picture really is worth 1000 words! She says the yarn is “Classic Shades by Universal Yarn and Classic Solids in black. Had a hard time finding the black, told by the manufacturer that it was discontinued so I hunted for it- found some at Herrschners. Thought it was important to have the same percentage/ blend of acrylic and wool so there wouldn’t be any problems when washing.” The blanket is presently on display at her lys, who wanted bragging rights for a bit. Can’t blame them!

SeaSunandSticks' autumn in stained glassimage_medium2


On a role!

I was hunting something in Le Shed and found a box of demo shapes woven at fiber fairs and am putting them to work. Got out a sewing pattern for a vest and  started putting shapes together. Not exactly free form but at least random. It will be another colorful bit of clothing. Got both fronts mostly together and will start on the back this afternoon.  Goes pretty fast since the weaving has already been done, just a matter of laying it out. I think this time I’ll just crochet in whatever little missing bits I might need.

But first I have some shop work to take care of as someone is waiting for their looms. Go get out your UFO’s and start putting something together!

DSC03419

DSC03414

More cardigan progress

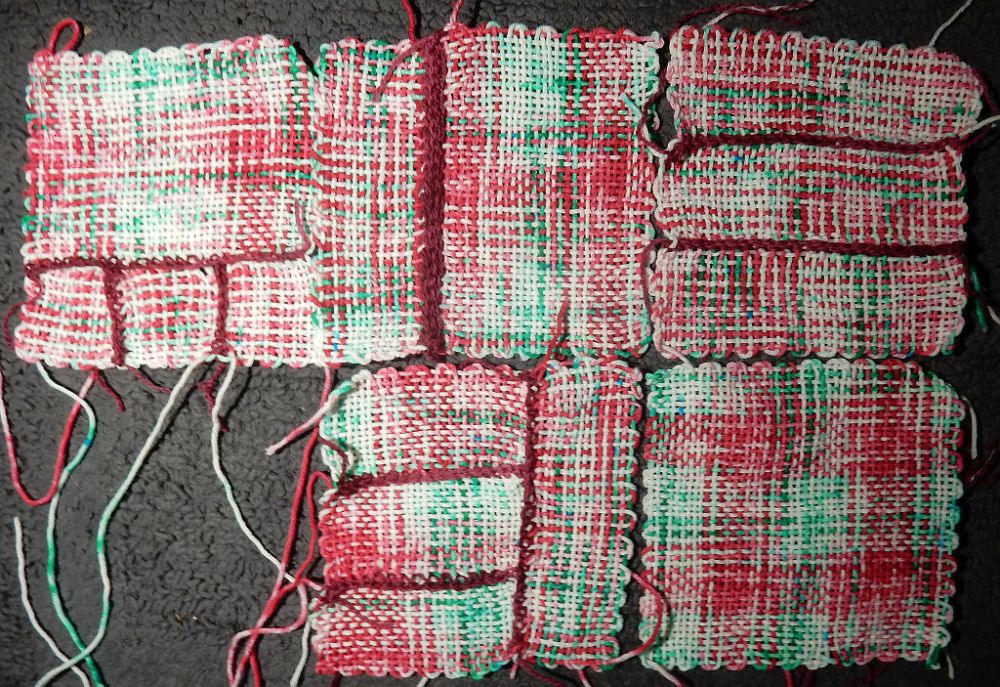
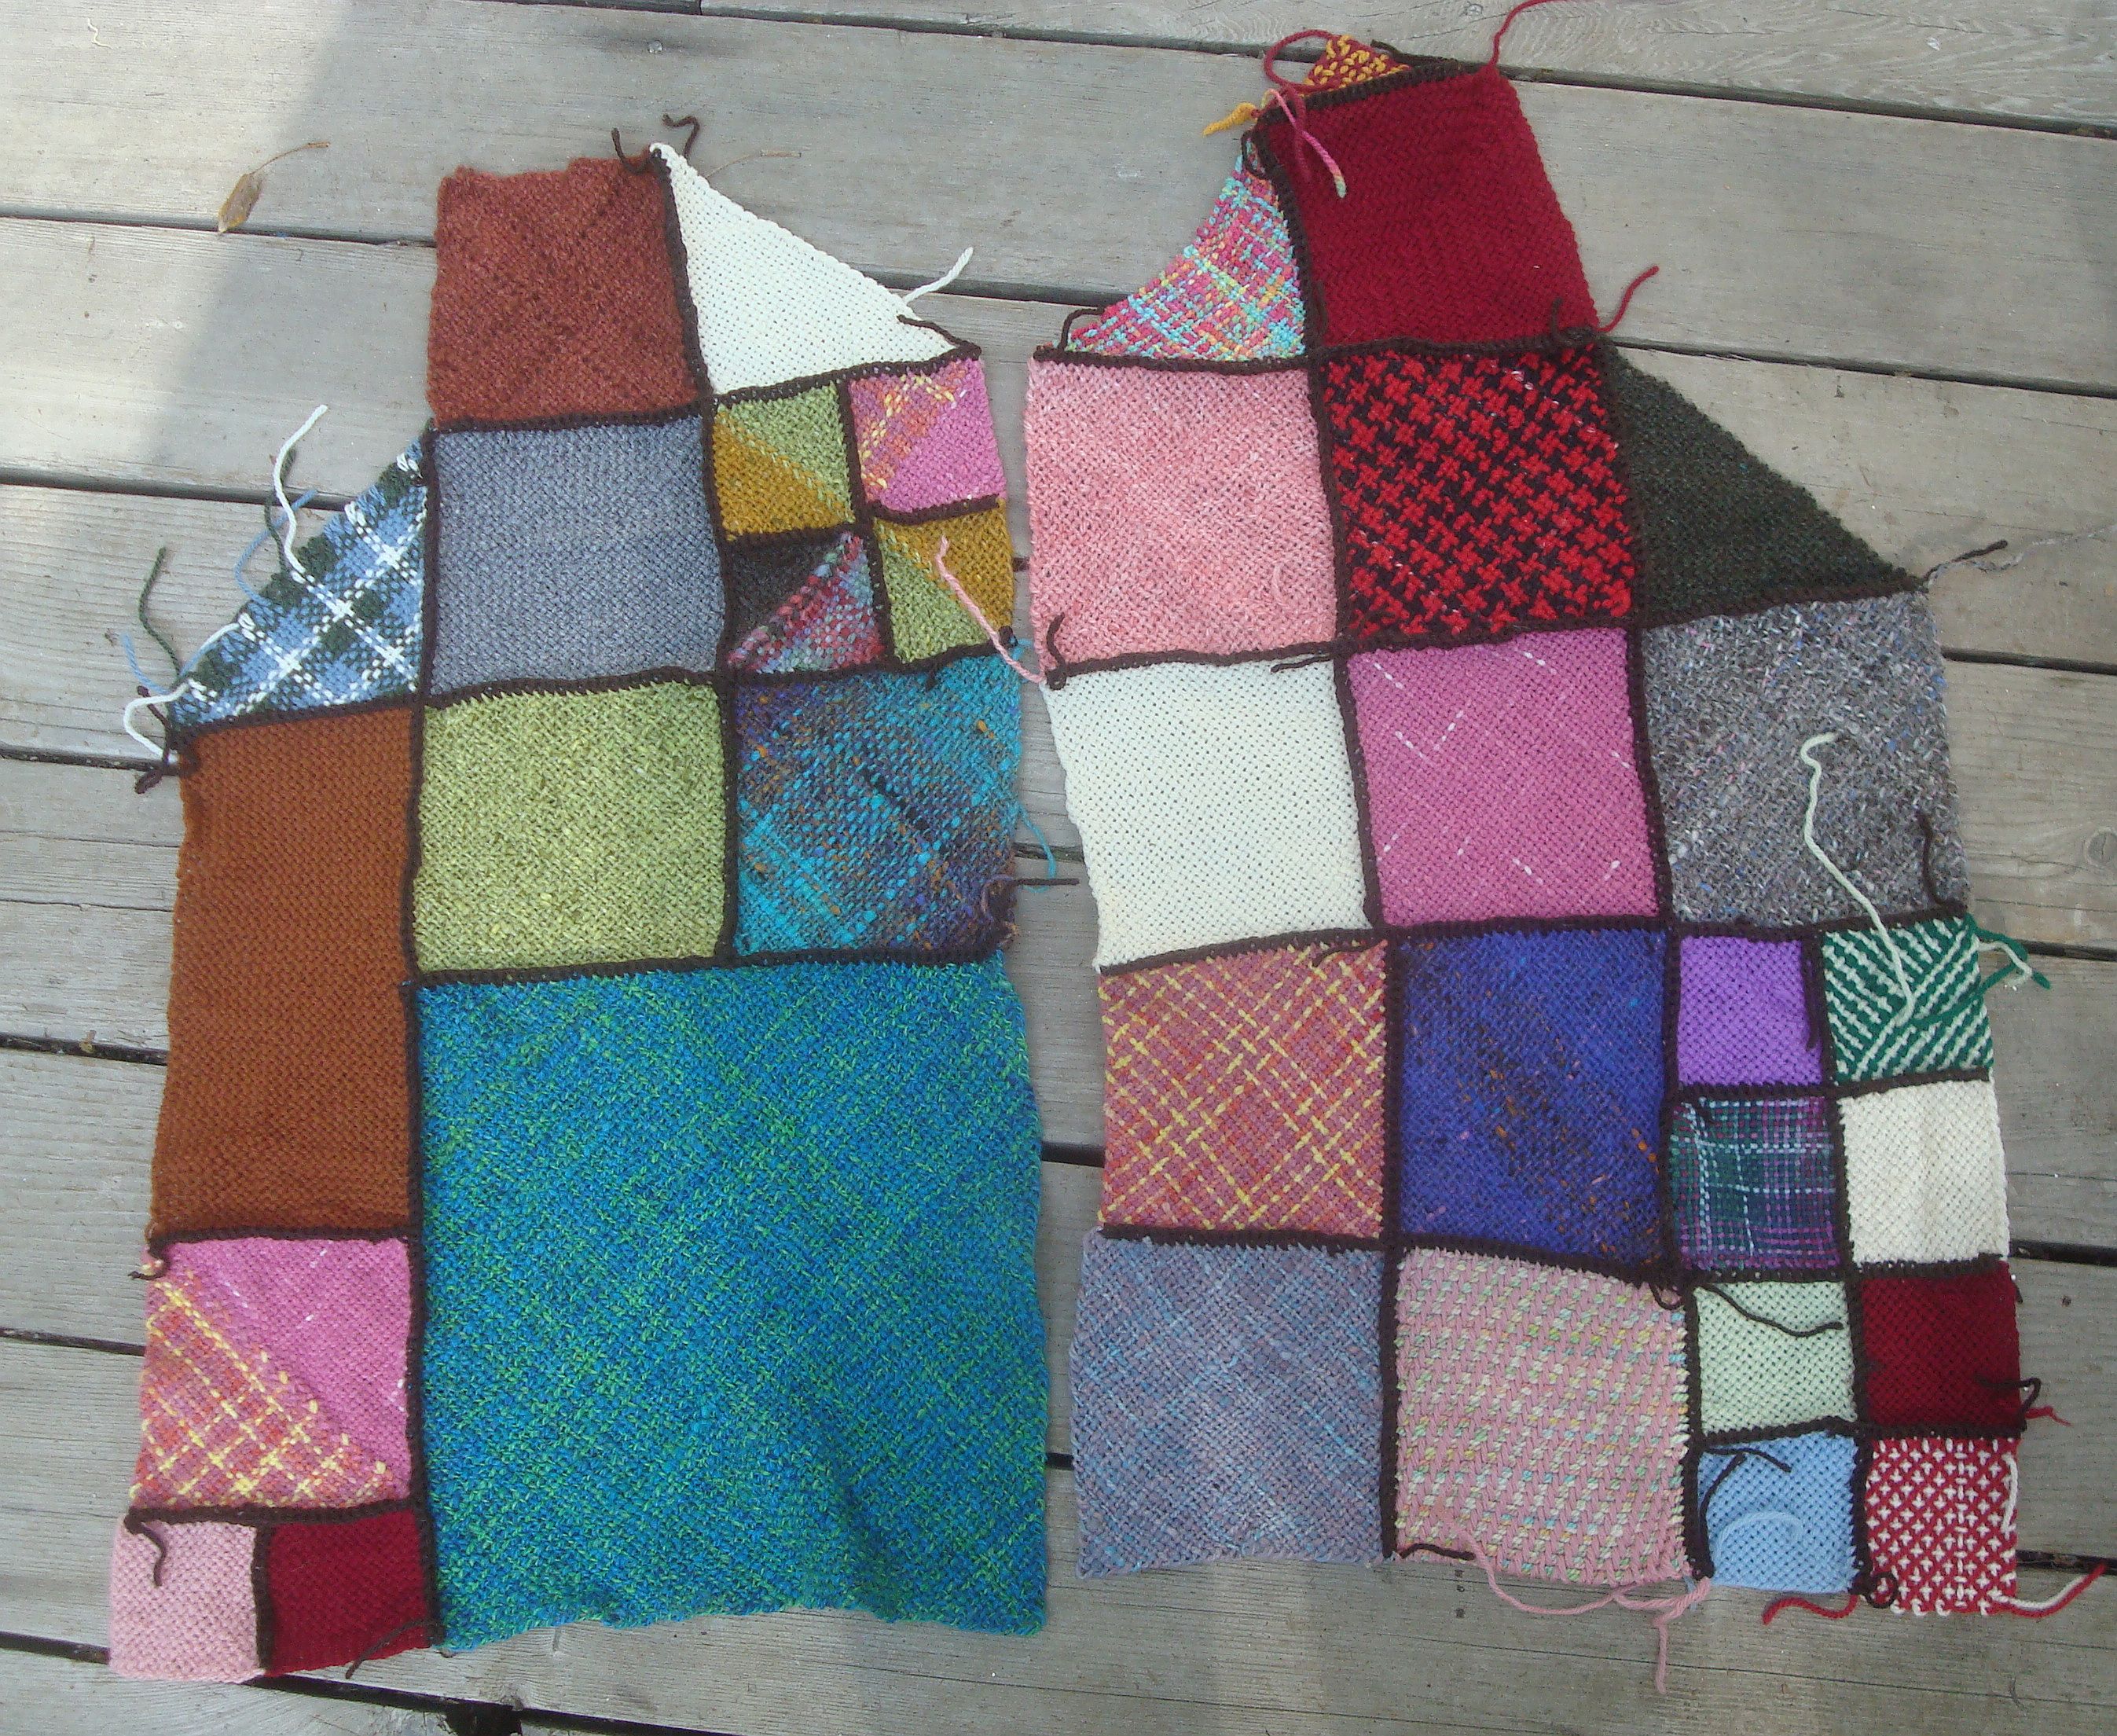
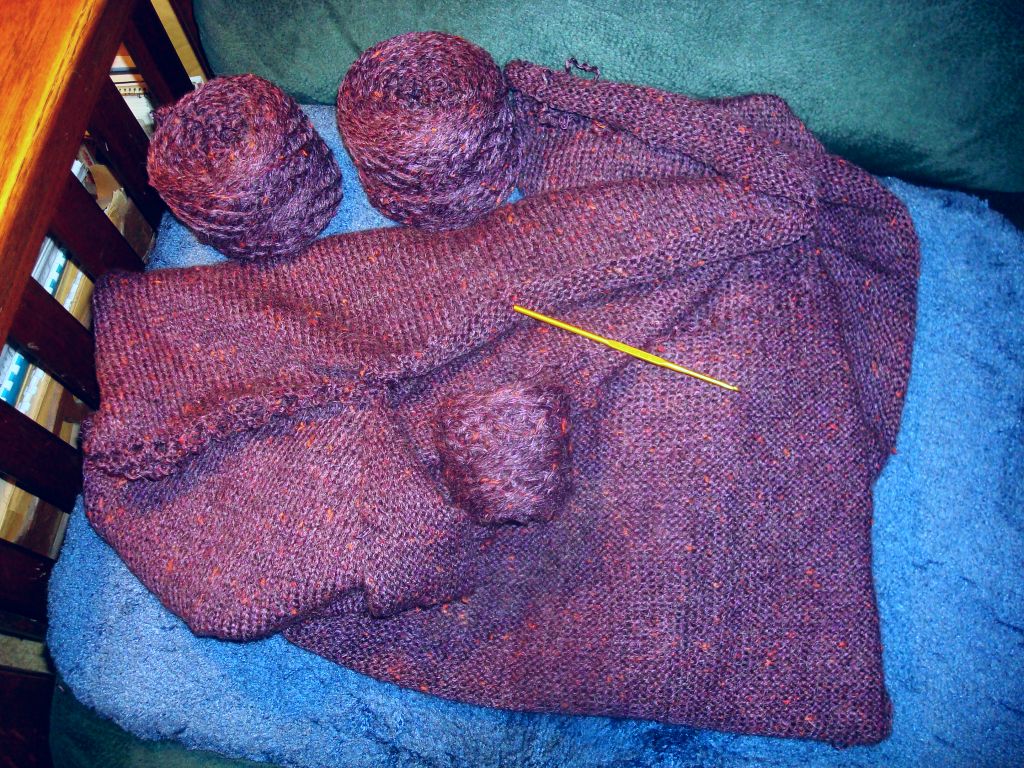
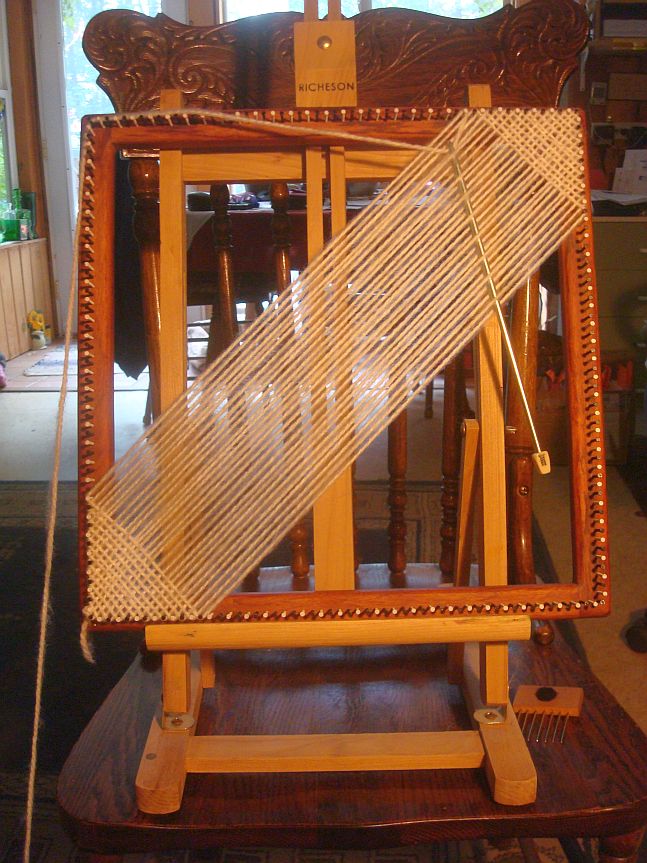
I finished weaving the tris for the sleeve yesterday and as I had the sewing machine set up for something else, I decided to take advantage of this cool morning to put it to use again.

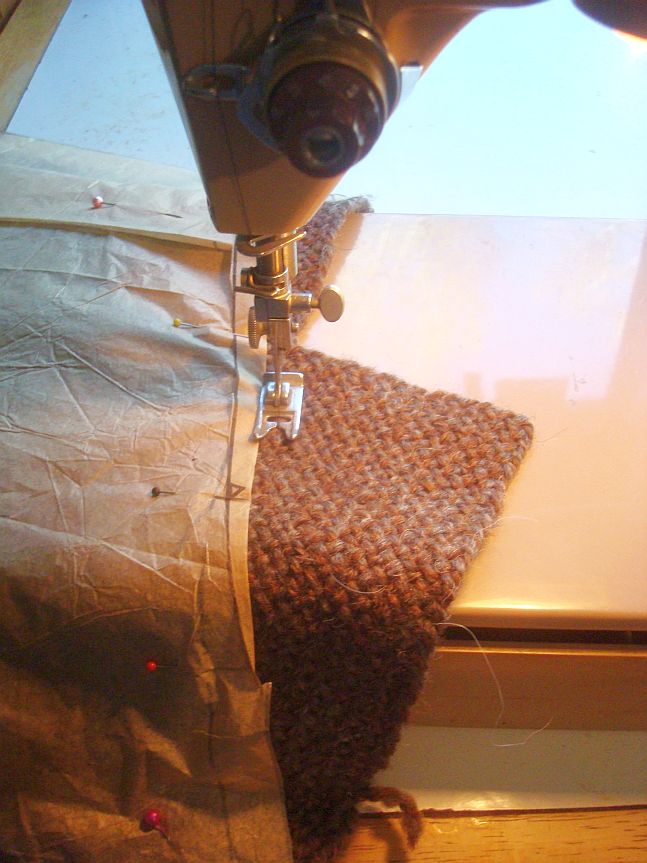
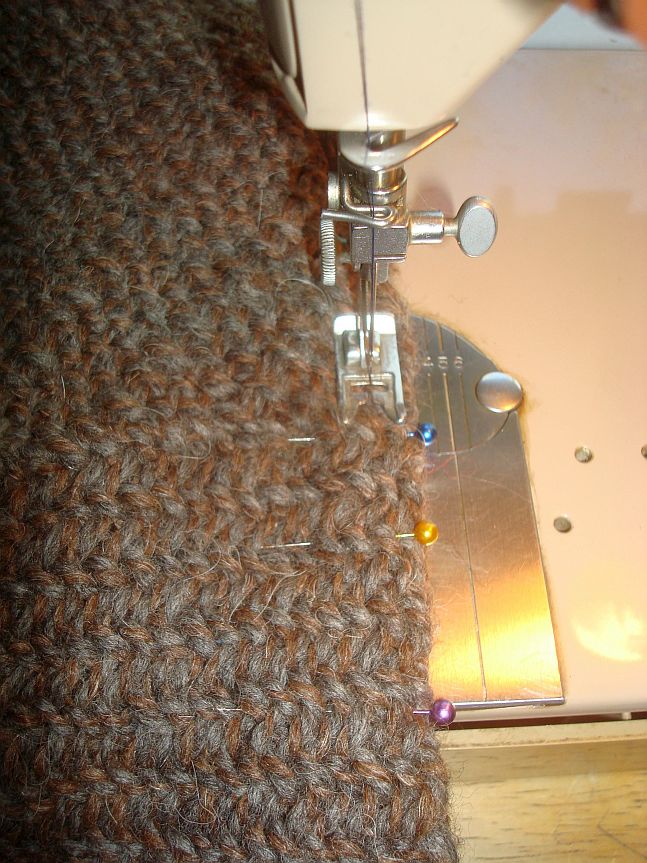
The woven blocks for the sweater, pin the pattern carefully over. I guess I didn’t get the photo, but  next sew at the edges. Use lots of pins and give you fabric support. You want it to lay flat so it doesn’t distort. Remember this one is bias woven.

sleeve A sleeve B

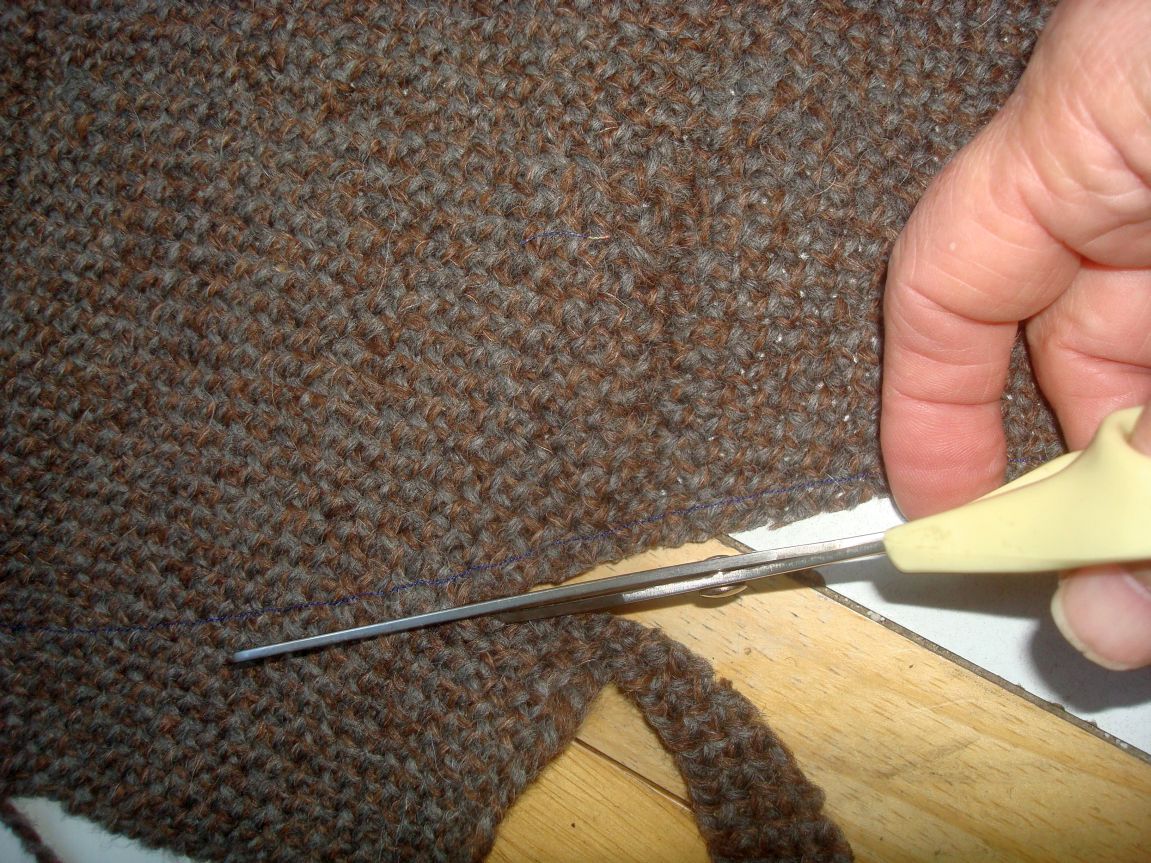
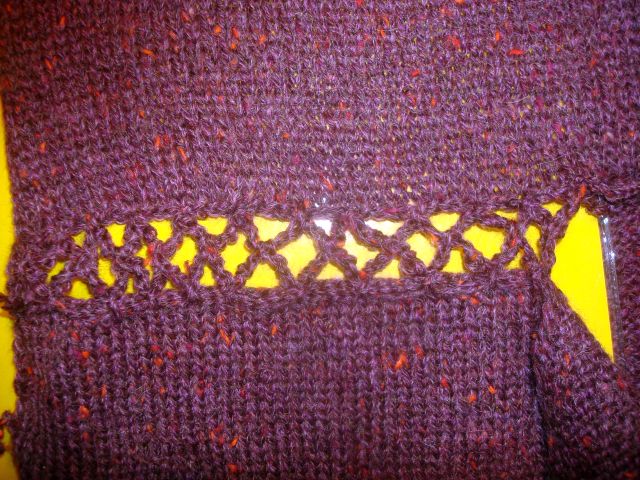
Once you have sewn all around in a contrasting color (it’s not going to show) carefully cut just outside the stitching.


sleeve C sleeve D

Pin closely! The more the better, especially on any bias squares that have not been stay stitched. The sleeve did okay, but sewing up the sides needed lots of pins. Again, support your fabric so it does not stretch or distort. In fact, if this is your first project of this type, it may be a good idea to baste all of these seams and try the garment on, to be sure things are as they should be before committing it to the machine which is Much harder to undo.


sleeve F

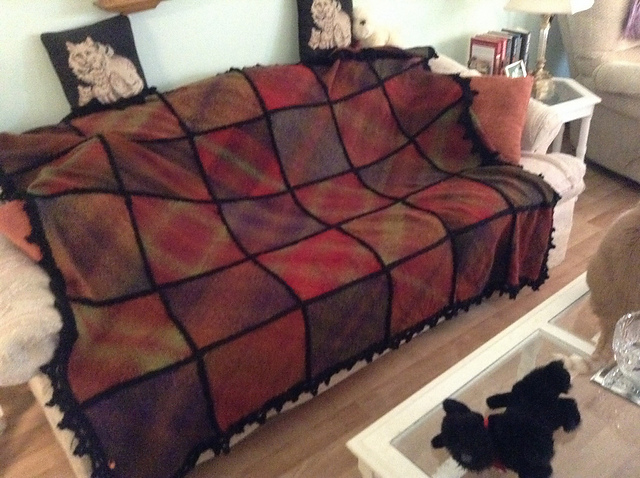
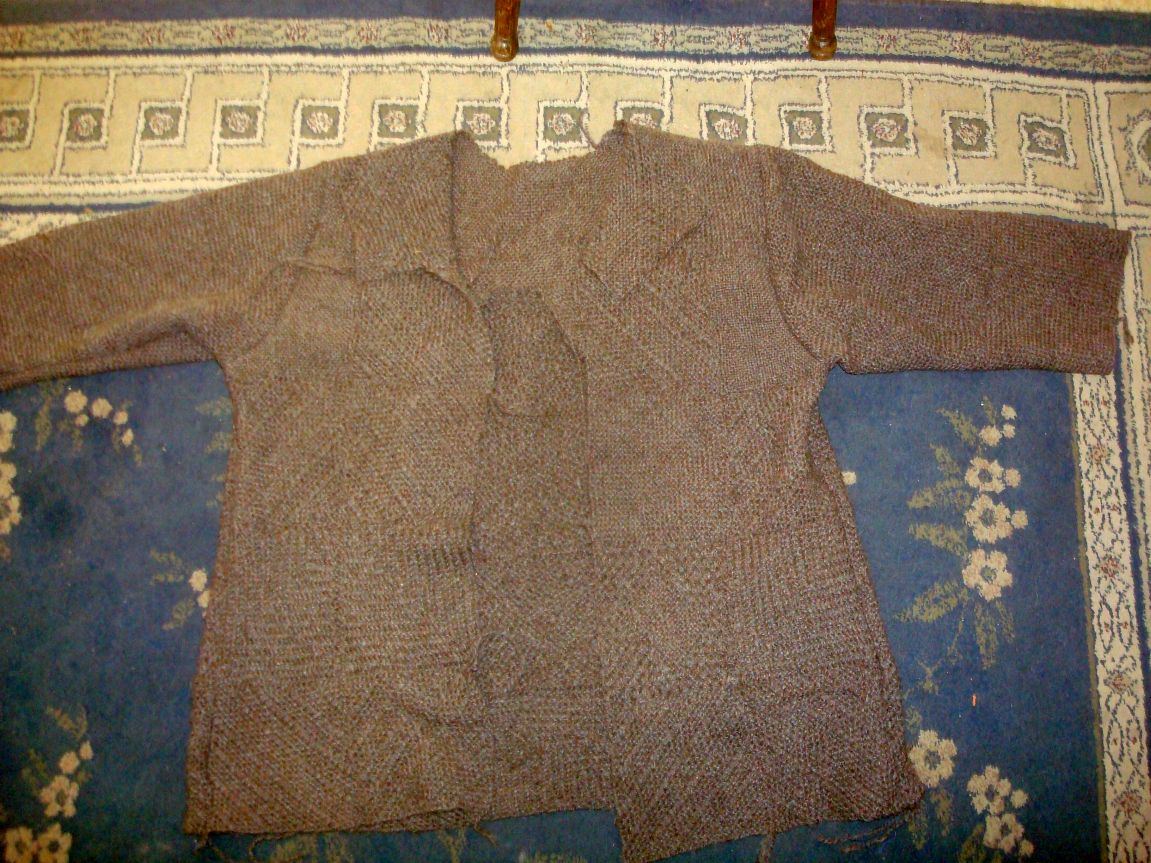
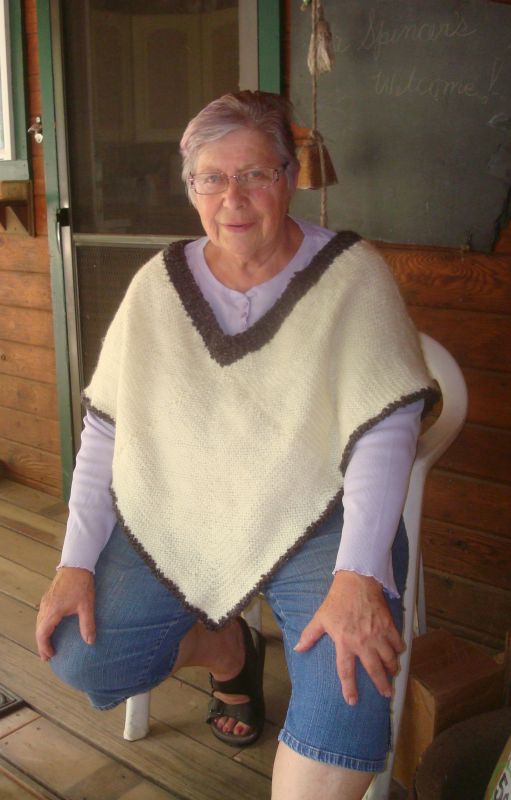
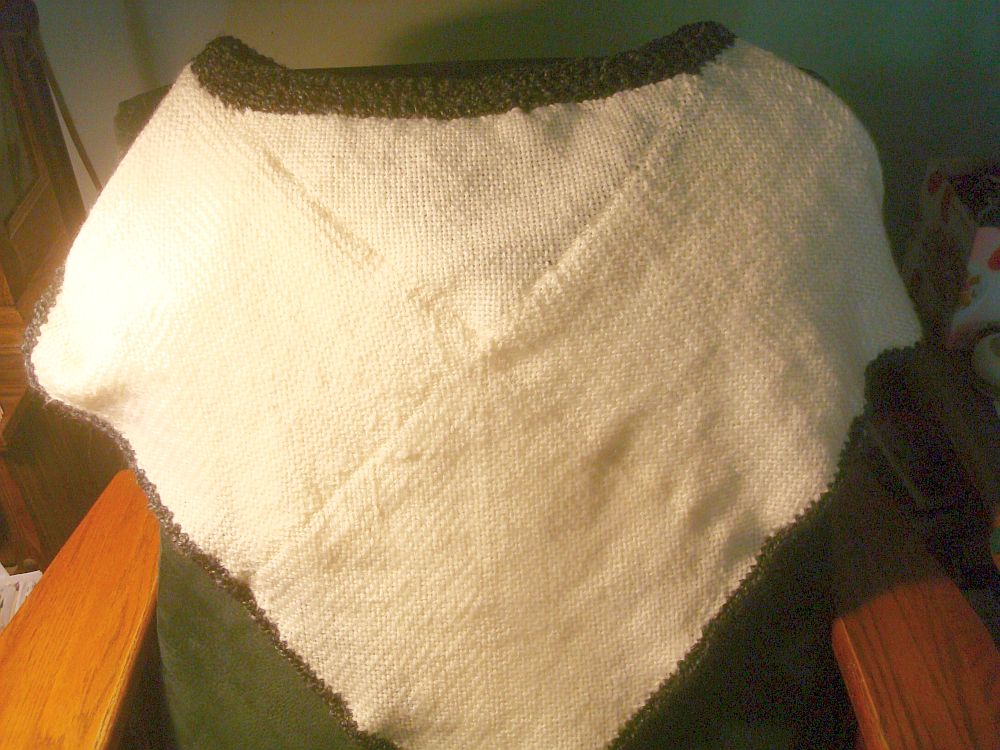
And here it is with the sleeves in.

DSC03289

What’s left is the front button bands and the cuffs. However… Being the mature figger that I am, it is a little snug around the… er… hem. So I think I may have to add a bit in a A-line sort of way, to the front placket first. Have not quite thought that out yet, so still more waiting before I have a finished item. Still, making progress by leaps and bounds!

Do any of you have projects to show me? I’d love to feel I’m not all alone here!


A UK Weaver

Jacqueline Bell of the UK shared some photos of her work with us recently and gave me permission to re-post the pictures. This woman does wonderfully creative work. Her workmanship is as superb as her design abilities. Bitsa Throw Cushions     Rainbow throw  Sloppy Joe  Boucle Triangles Throw And last, a blanket Jacky said was made in the 1950’s by family members using the old Weave-it looms. 1957 Throw This weaver has promised me more photos of her work to share and inspire! I love seeing the wonderful work weavers are making with the looms. Makes the long hours out in the shop seem worthwhile! Happy Weaving!

Trying freeform again

I have tried before  but it always seems to end up– well– normal. what happens to my free spirited creativity here??! I am trying to take a lead from Frida. I am starting with a rectangle of knitted fabric. This was a huge bit of knitted something a friend gave me. she had tried to make some kind of garment with it but gave up. I frogged most of it. Got 11 1/2 balls of yarn from that part, and am using the rest in this experiment. so far. I have sleeves, a shrug-like thing.

Frida inspiration

With chained underarms. Now i am exploring free from web sites. And I am getting out my little diamond to make some star or flower shapes to add in. Not very creative yet but we’ll see.

Frida inspiration 2

Meanwhile, I have garden stuff to tend to yet.

Rain early next week and it feels like frost is not far off. Only 65 at noon, today.

And the Giants are playing the Cardinals tonight! Go Giants!


On the road again….

We are getting ready to leave for a couple shows. First in Arcata for the Natural Fibers fair and then next weekend to Booneville for the Californian Wool and Fiber Fair. If you are in either area, we hope you’ll come by and see us. Later this month we’ll be in Canby for the Oregon Flock and Fiber Fair up near Portland.

So not much time at home this month and tho I don’t have any projects to share this time I will be weaving as we go. I was given some yarn, a generic wool and alpaca, nice but not next to skin soft and I am weaving 7″ squares with it. I am thinking I might make an afghan but it would also make a nice jacket, and a little more conservative than my last one. But right now I’m weaving and considering. We’ll see what happens!

I also just got my Weaving for Dolls book finished and will have it with us if any of you are also doll fans. I’ll be working on a project for them on this trip as well.

But I have been clipping pictures from magazines and catalogs for my ideas file. I found this one & thought the collar was rather interesting. I’m never sure if anything will come of the collection but they do help ideas to simmer in the background and sometime inspiration happens.  We’ll see.

DSC02538

Meantime, hope to see you are one of the fairs but if not…

Happy Weaving!

Not what I started but…

I think it worked out okay, tho a more simple garment. I know poncho’s haven’t really been in style since Martha Stewart got out of jail but I’ve never had one and thought it might really work as well as a shrug for those coolish times of the day when you don’t really want a sweater. For one thing, sleeves are difficult in the shop. The sleeves either catch on the nails or sweep them off the work table, then I have to get out my handy dandy magnet on a handle and get them up off the floor. And same thing just sitting and weaving, they get hung up on everything. Not sure this garment will work any better but I’m going to try it. After trying it on again, I think I might end up adding a couple more rows to the neckline to raise it a bit, but I might wait until cooler weather to decide if I need that. I fitted a 12″ triangle at the back neck to raise the back a bit.  I just about had a heat stroke wearing this for Himself to take the photo. lol What with the smoke from the fire and the thunder storms, the heat and humidity are trapped at ground level here and it gets pretty uncomfortable. But here’s what I came up with. I’ve had some suggestions for the shrug and I have more Jiffy so it is still a possibility. But next on my to-do is tending to the peach crop!

front2back 2

Okay, scratch that.

Added 8-3   Shrug is not working. Wanted to warn you here so you can rethink if you are following my examples. :-0      Not sure if it’s the plan or just my size. Plan rather simplistic, I agree. But it seemed like a good idea. Too short in back and too tight under the arms. tho the sleeves were plenty big.  I could probably  weave more squares and then cut and sew but I think I’ll just try something else this time. Stayed tuned!

But I do have a couple things to show you, meantime. This 14″ square was proving a little unhandy as a lap loom the other evening and I remembered I had this table easel over in my painting stuff so went and fetched it out. It works pretty good for this. My middle sister made one for me that sits on the edge of the table that would also work but I’m not sure where that one is at this point. But you might want to consider something like this if you’re having the same problem. I have it set on a dining chair to put it to the right height for me to work on from my chair.

DSC02345

The other thing is joining. You can do a russian join, which is what I have been doing, or if you have wool, the ‘spit’ join. But I just sewed the yarn into the new piece without the russian loop and it holds really well in both wool and acrylic. It may make a bit thinner lump that the previous type join. You could probably thin it by cutting plies before you stretch the join out, but I haven’t tried it yet. Sew the yarn into next strand, pull the last end flat (after you take the needle off) then work the first end flat. If you have a little lump at the beginning you can work that out with a needle and trim it.

join

Okay, I’m going to weave another 14″ twill square and think about what this is going to become since it’s not, after all, going to be a shrug.


pattern for Ducks Quilt.

If you are interested in making this Ducks Quilt here is the layout I used. I sewed my blocks together with the over hand stitch.  I added the row of yellow blocks using the blue to crochet these onto the top and bottom to make the square quilt a bit more rectangular. After sewing the 9 yellow blocks together, I did a row of single crochet on the bottom edge of that strip and another row of single crochet on the top edge of the assembled blanket. Then I worked a slip stitched to connect the two rows. Repeat at the bottom of the blanket. Then I worked a border of two rounds of single crochet in blue and yellow. You all know you can email me at any time if you have any questions about this project or about the looms. I’d love to see your projects, too!

I forgot to add that the yarn I used was some very nice Blue Sky Alpaca Organic Cotton, called Multi Cotton. It suggested hand washing but I put it in the machine for a short gentle wash. I also put it in the drier until just barely damp and dried it the rest of the way laid out flat. It did fine.

Lay out for duck quilt