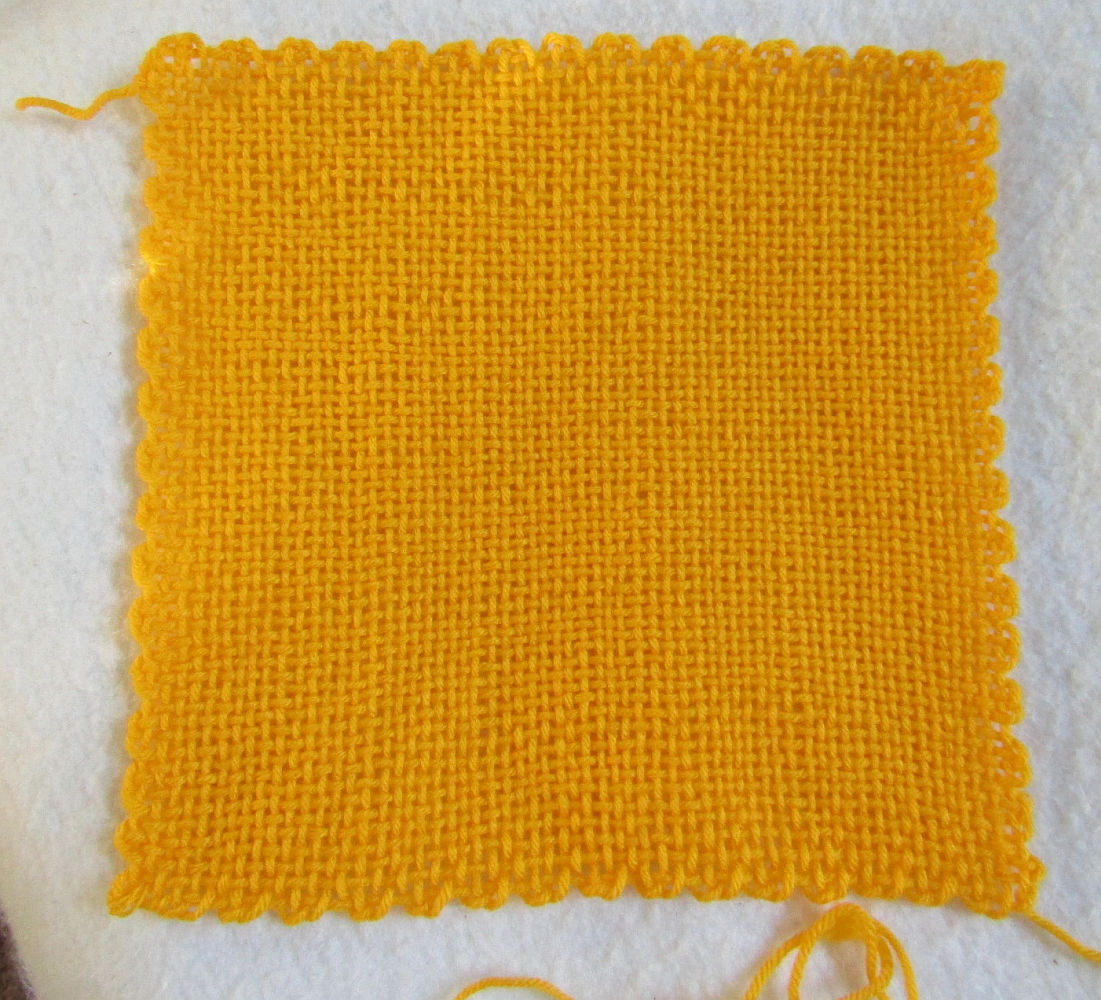
Weaving the checkered Mug Rug.
Because your Weave-it type loom is missing some corner pins, unlike the Multi looms which do have those corner pins, you have to make a few modifications for this type of weaving on your loom. It’s fairly simple and I have taken lots of pictures. We’ll go step by step.

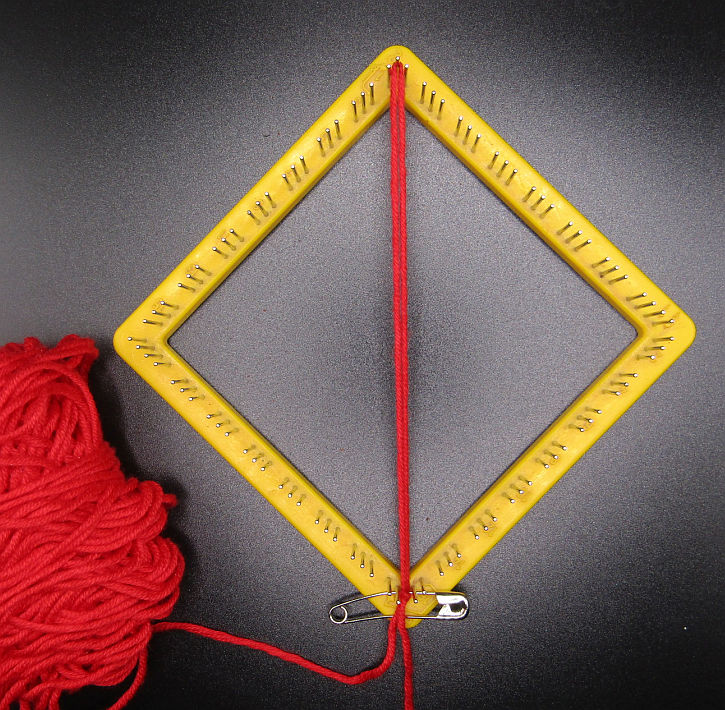
- To start orient your loom with the 3 pin corner at the top, that is away from you so your loom is in the Diamond position. There is no pin on the bottom corner, the one closest to you.
- With your starting color, make a long slip knot and place a safety pin in this loop. Put the loop over the top pin with your working yarn to the bottom and the safety pin on the outside of the pins as in the photo.
2. Weave another round, being careful not to twist the first loop. Continue weaving until you reach the 9th pin. Because the number of pins on the sides of this type of loom is uneven you have to “add” a pin. Weave the white though but before you place it on a pin, move the previous colored yarn down to the pin before it. Then place your white yarn and continue weaving.
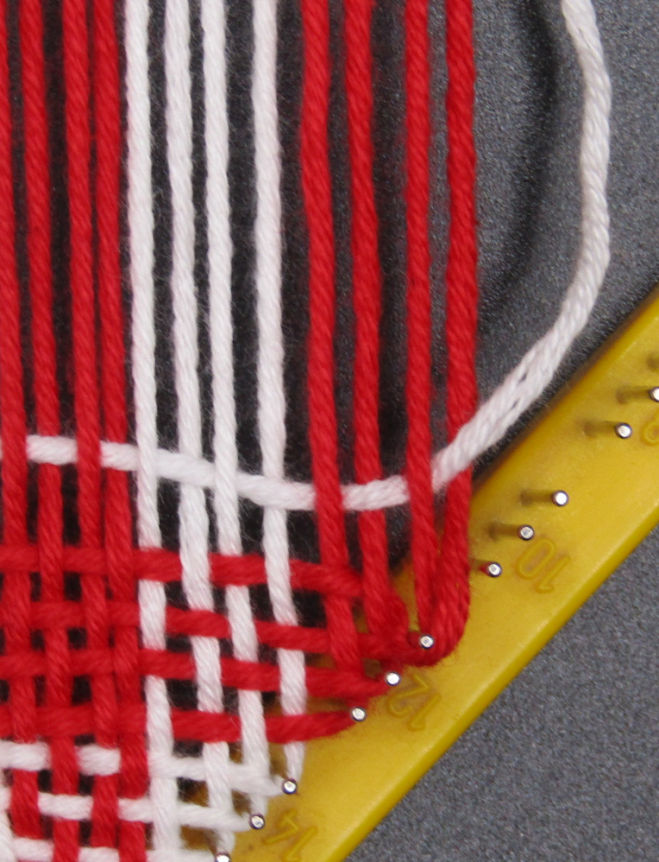
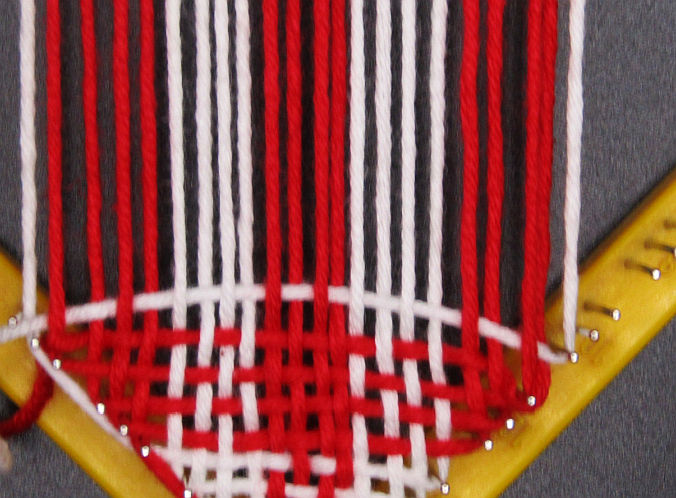
Continue weaving.
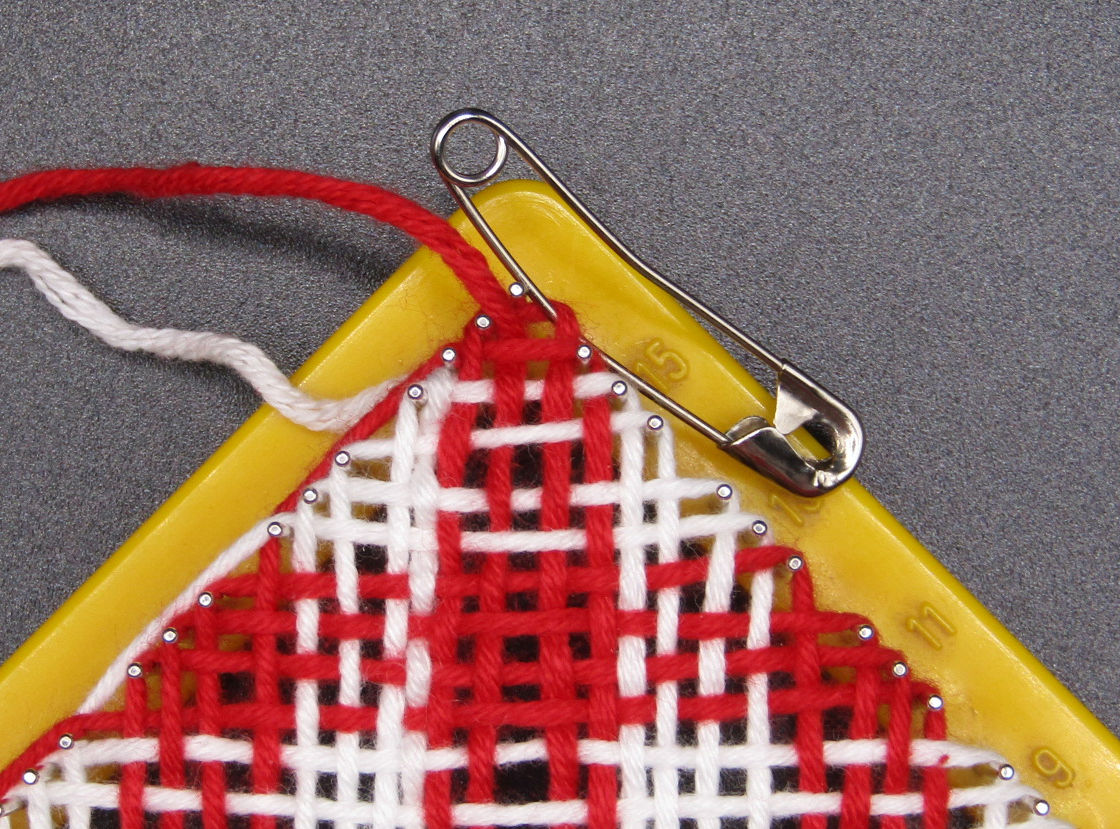
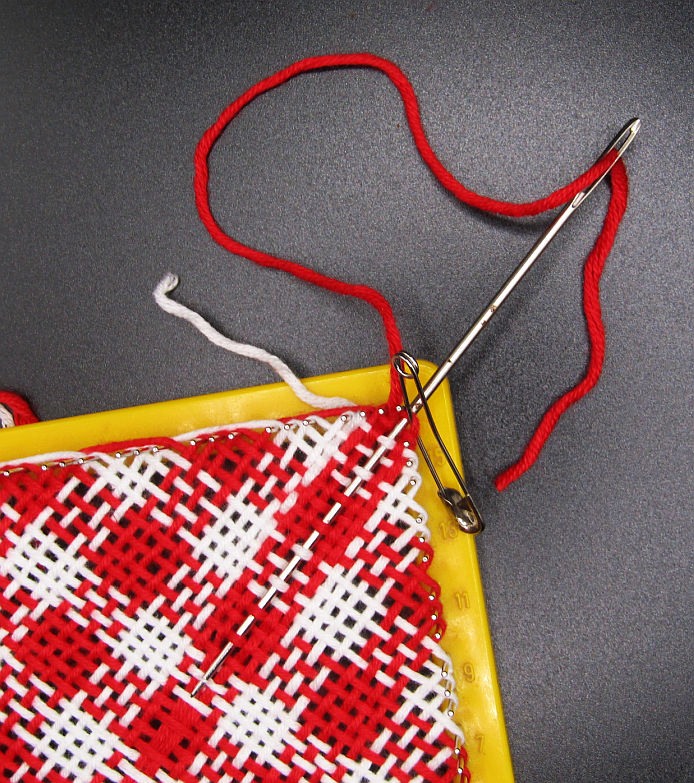
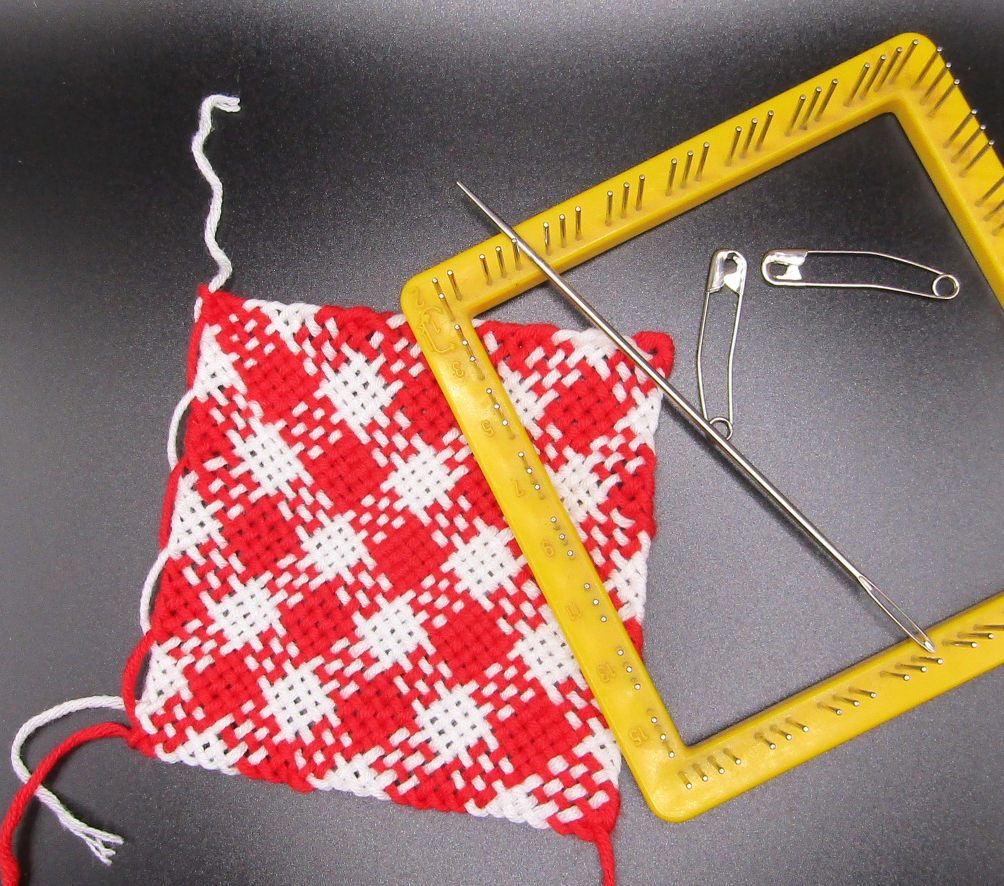
3. When you reach the next to last round you will once again find you are short a pin so get out another safety pin. It replaces the pin just to the right of the corner pin. Weave the 4th row. This pattern requires a 5th row to finish. At this point you can cut your white yarn leaving a long enough tail to weave it in later if you wish. Cut the colored yarn long enough to weave though with at least a 4″ long tail. At this point you can use the needle that came with your loom or finished with the hook if you prefer. Now you are done! Take it off the loom and start another!
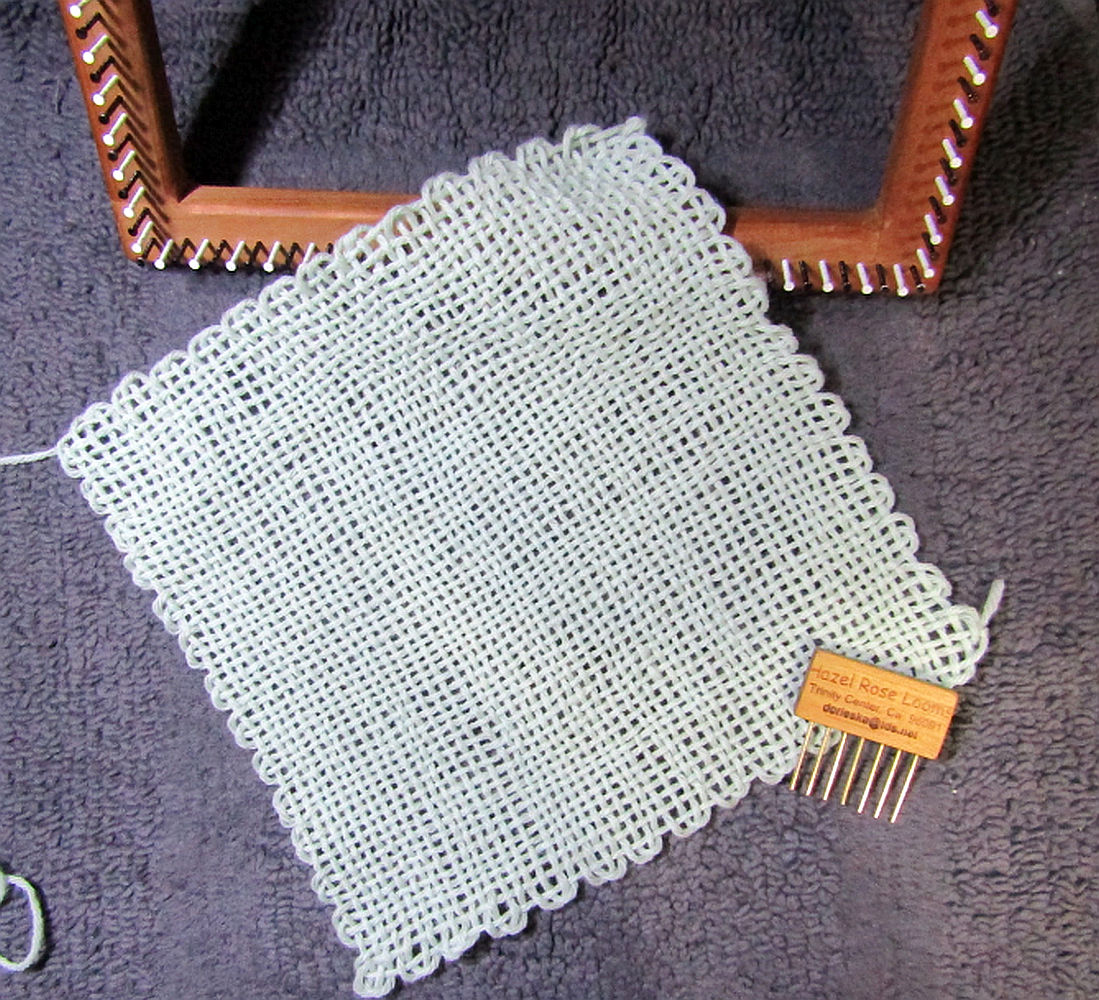
Weaving Multi style on the 12″ Quilt Weaver Loom
This works on the 12″ square. I expect it’ll be different on other sizes but have not tested it. If you do you can post a comment her4 about how it worked.
This one used Loops a & Threads Impeccable, worsted weight #4.
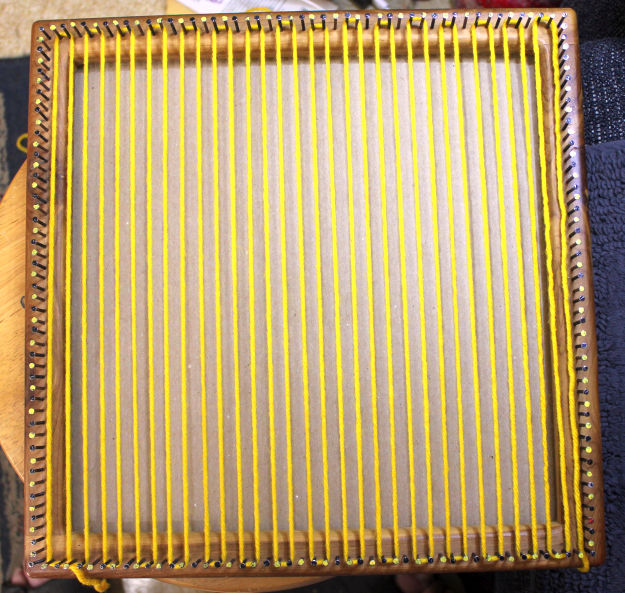
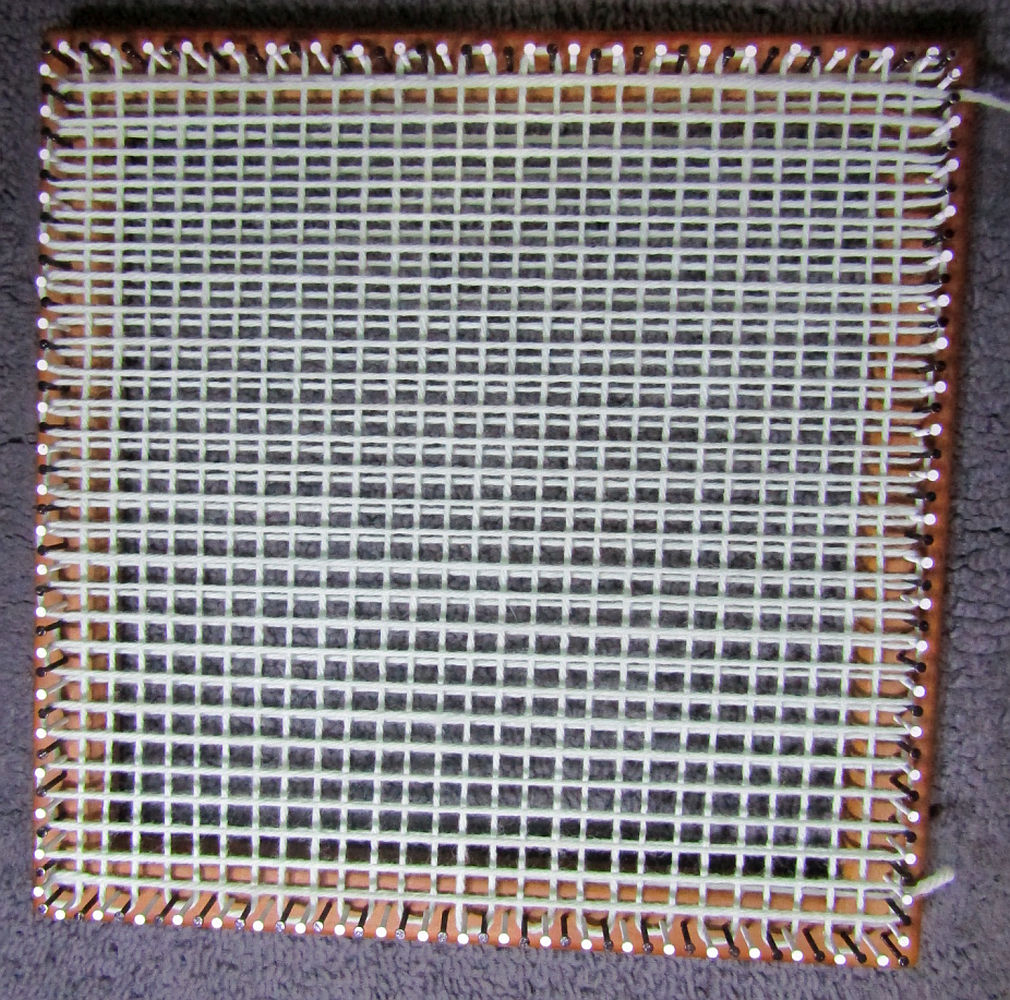
Start with a long slip knot over top 2 and bottom 2 nails on the left side. working yarn at the bottom(toward you).
Bring yarn around 2 pins and up to the top, skip one and around the next 2 and down to the bottom. continue across in pattern, skip 1, around 2. End bottom right corner.
Go around two on the corner and back to the left side, skip 1, around two all the way up and end on the top left.
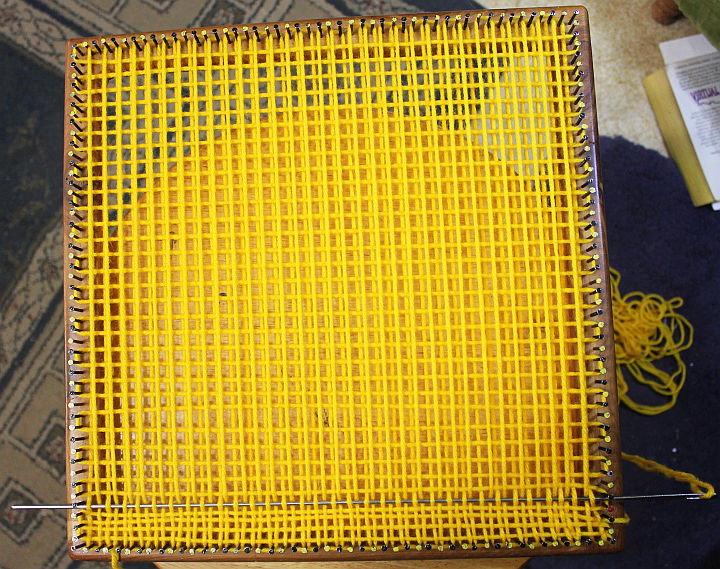
Go around the three corner nails and back down. You[‘ll repeat the pattern making sure your yarn runs straight between the previous layer of yarn. End on bottom left again.
You’ll need about 12 Yards of yarn to weave this square, that’ll be about 9 wraps around the nails.
That’s going to put a lot of stress on your yarn so you might want to work with half at a time.
If you don’t have a clever husband who just happens to have an old car radio antenna in his collection of “stuff” out of which to make you a really long weaving needle you can use any you happen to have on hand to weave this. A bit larger and stronger than your Multi needle is recommended. A locker hook will work. And No, we don’t sell anything like this needle.
Have fun and show us your squares!


Weaving the 10 1/2″ square Multi style. It’s just about the same as weaving any other three pin loom. It follows the same pattern: skip one, around two, keeping in mind that there is no gap.


I will try this on the other sized looms and add that information here later.
