Tag Archive | sweater

Last show trip of the year!

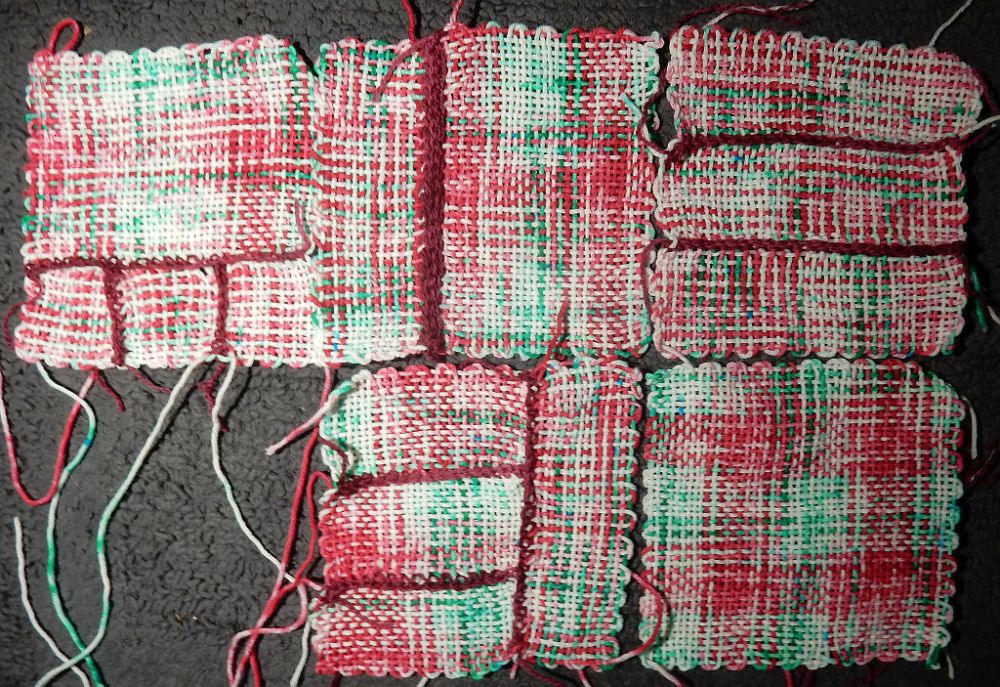
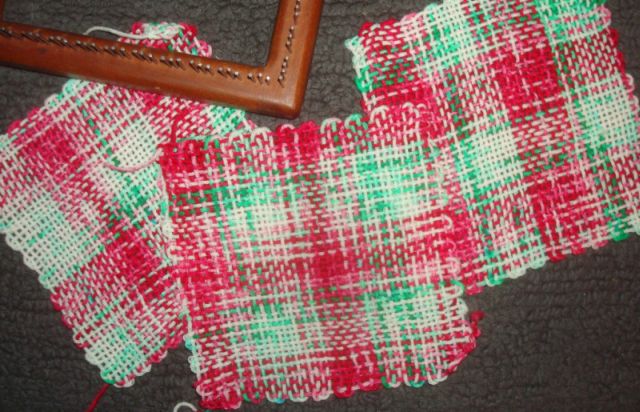
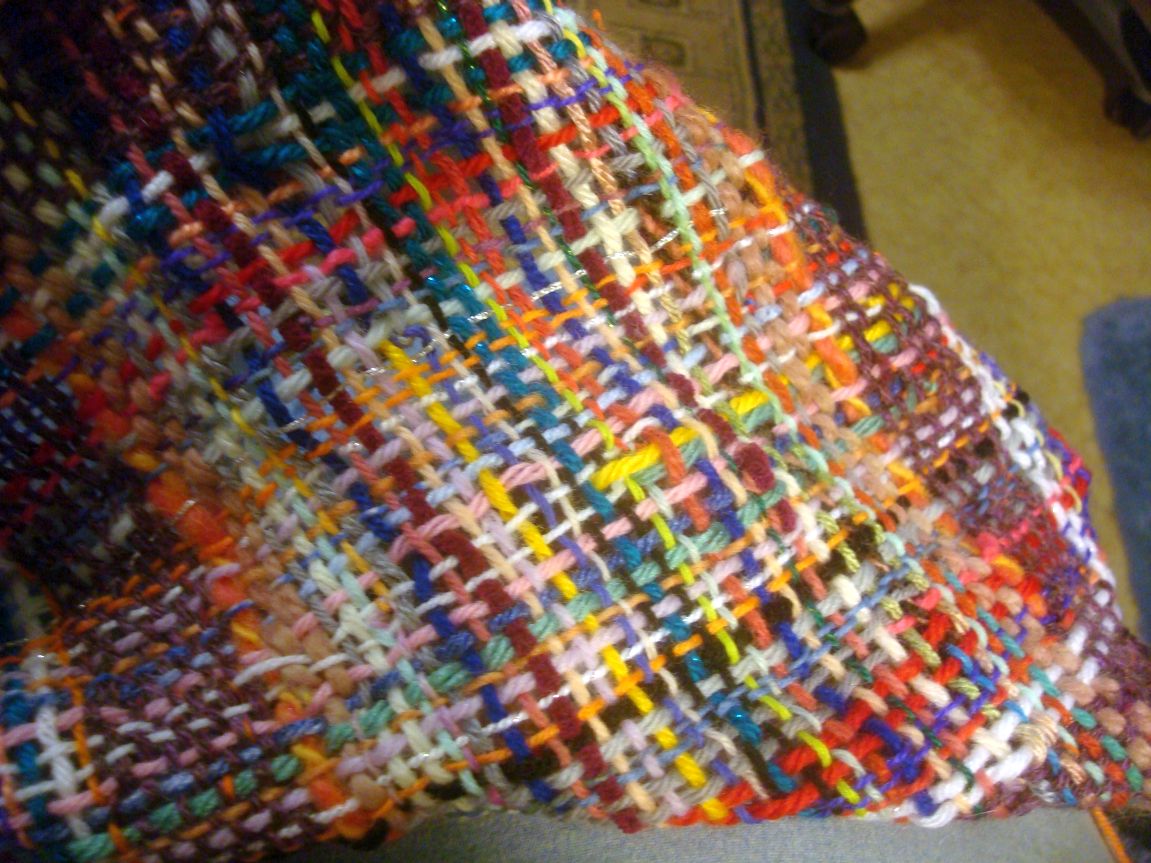
Well, the show are fun and we meet a lot of nice people but I am rather glad to be home for awhile. We’re getting our first rain of the Autumn and there will soon be a frosty morning greeting us. Good time for sitting by the fire and weaving!

Here’s a few pictures from our trip.

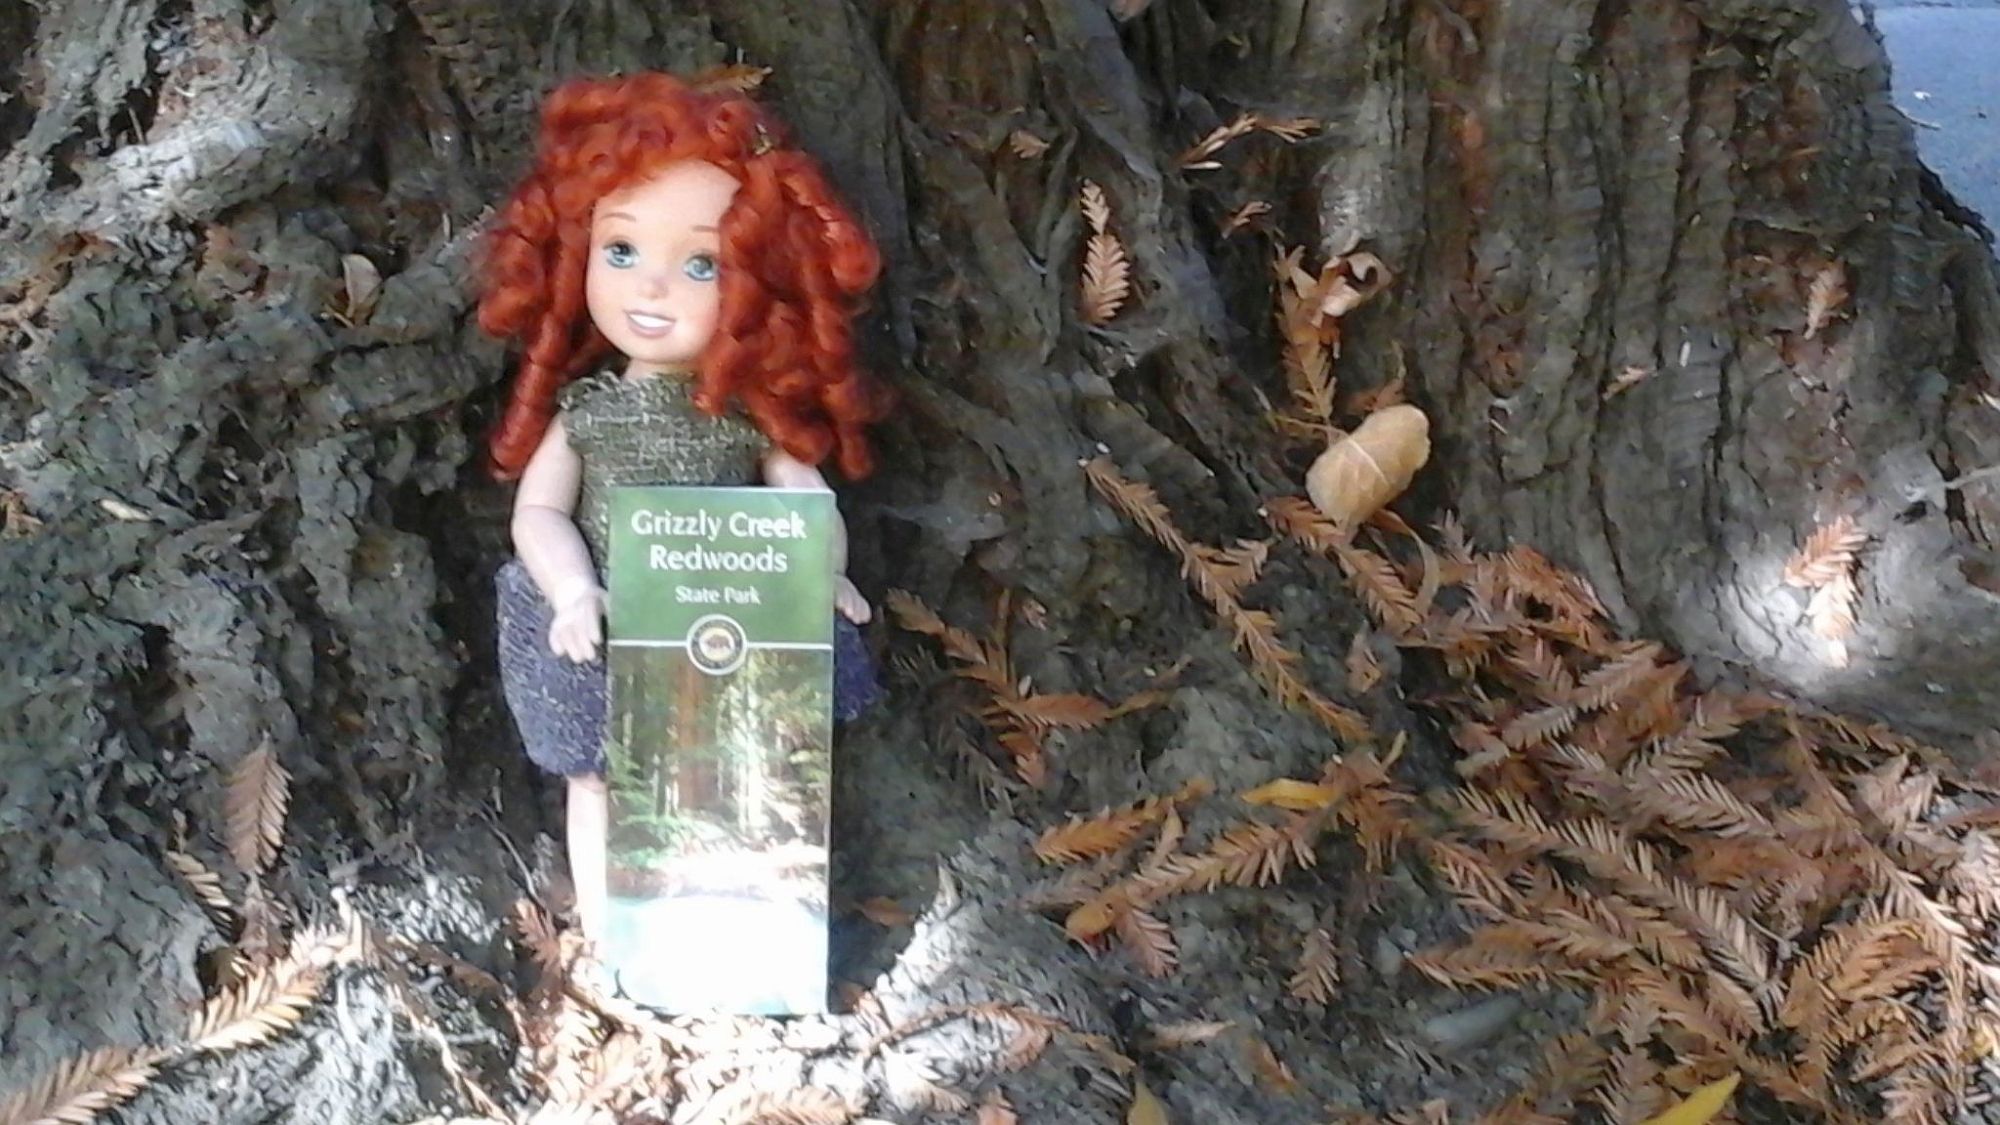
Hitchhiker doll Merida had to pose beside a Redwood like any tourist!


11-merida-in-the-redwoods

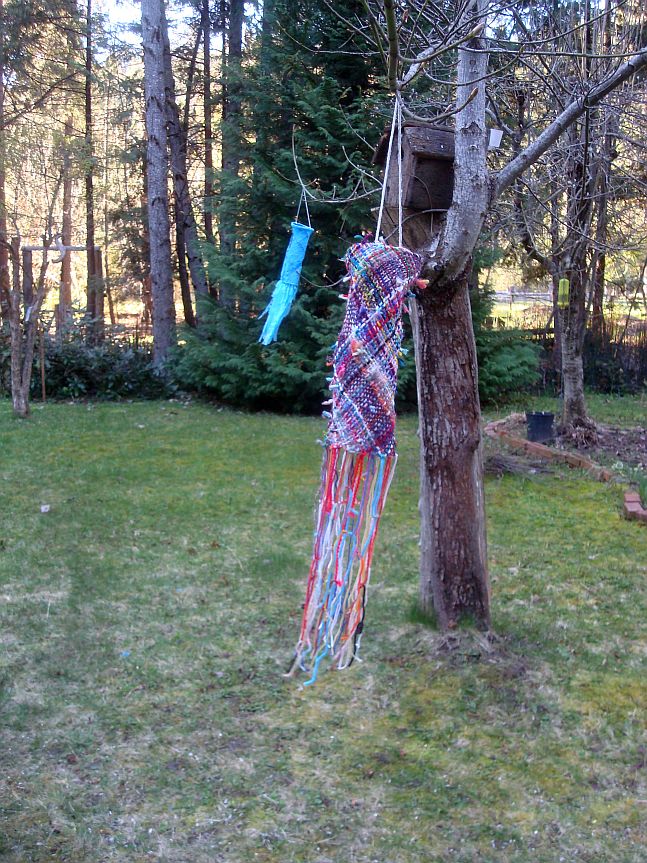
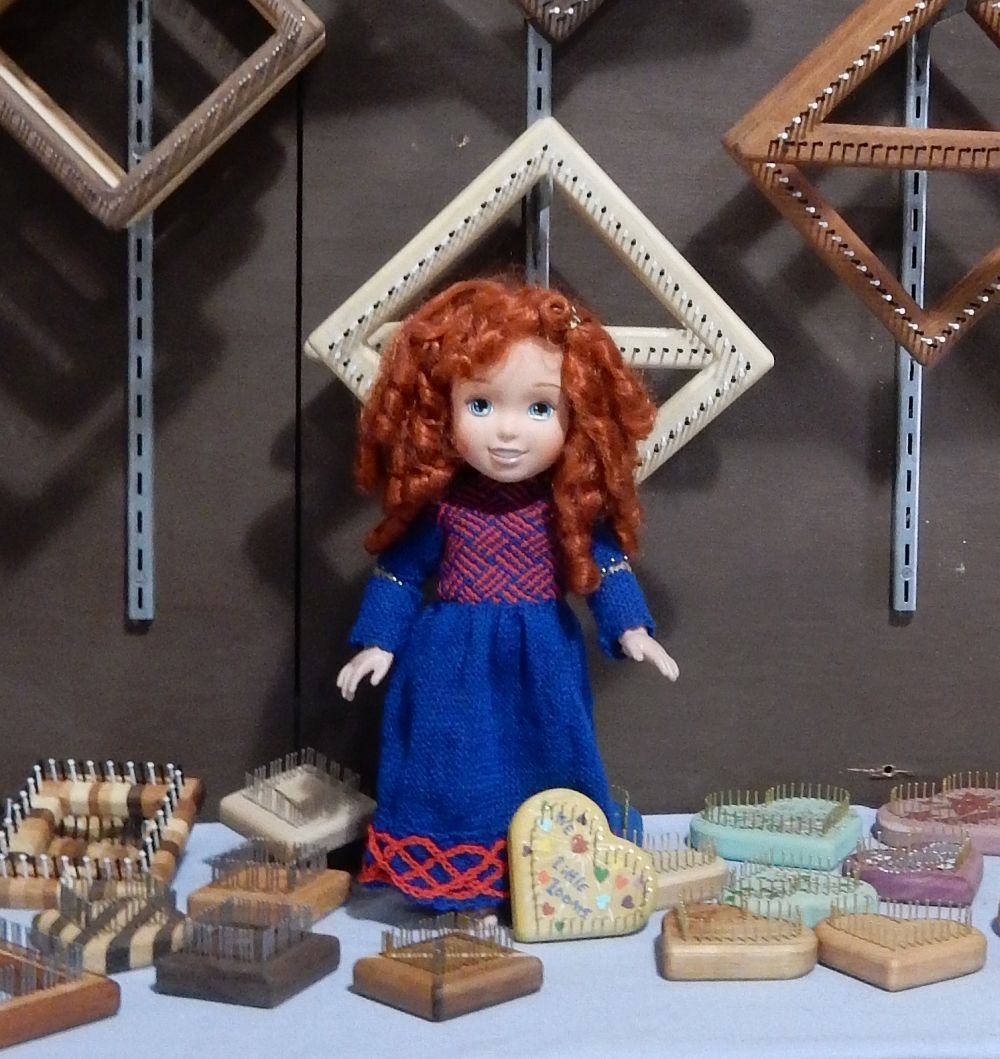
And she got her portrait taken with the looms at the CWFF in Boonville. She’s wearing the dress I wove for her, my version of a Celtic design for this Scottish princess.

8-cwff-boonville-3

And naturally she would want to be included in the picture at Cape Blanko, in Oregon on our way up to OFFF in Canby. Here she is with Randy and Stella, watching the whales spouting around the point from the lighthouse.

randy-stella-at-cape-blanko

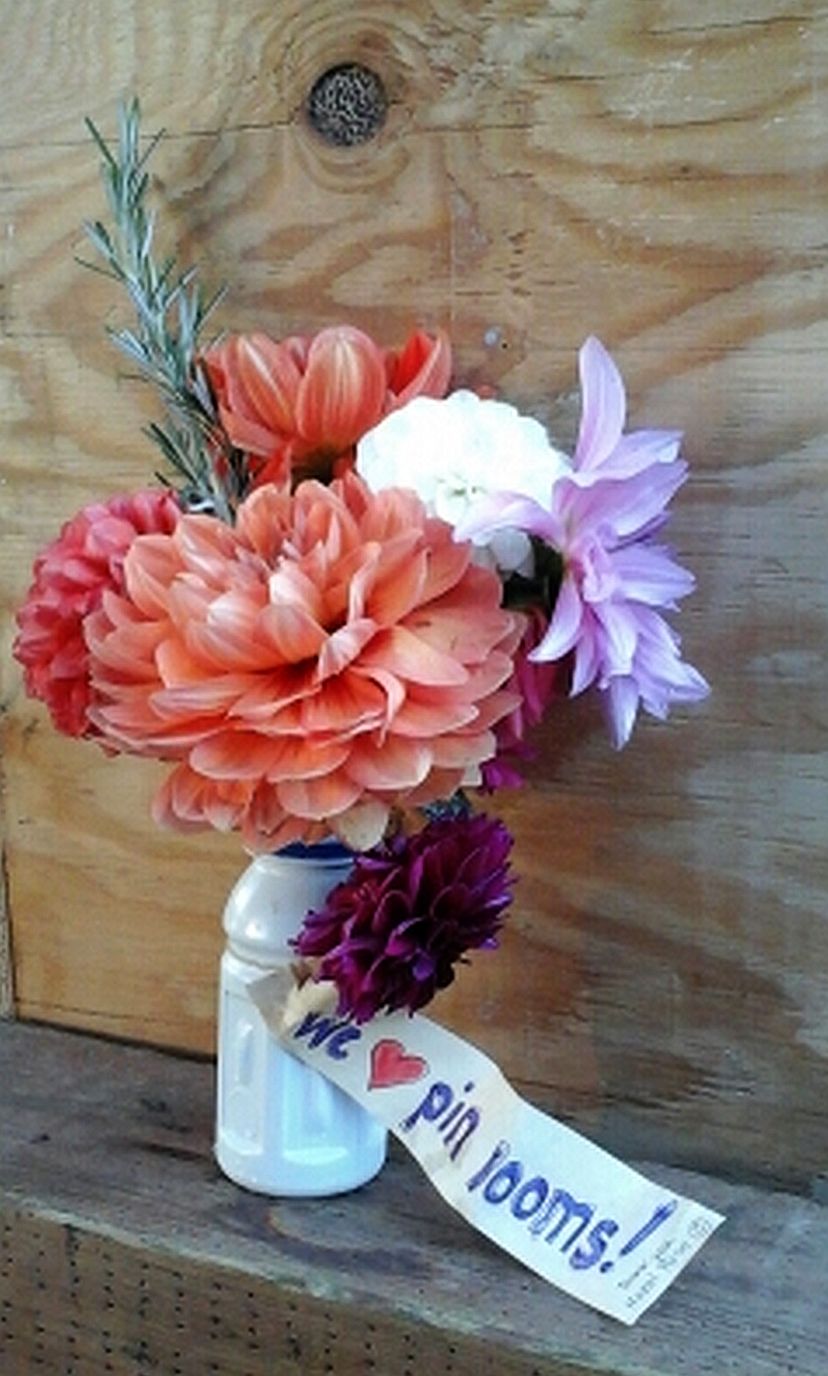
At OFFF a weaver who was enjoying our looms brought us this bouquet of the Dalias she grew herself to honor our booth! Thank you, Sara! They lasted all the way home, brightening the camper, too!

we-love-pin-looms

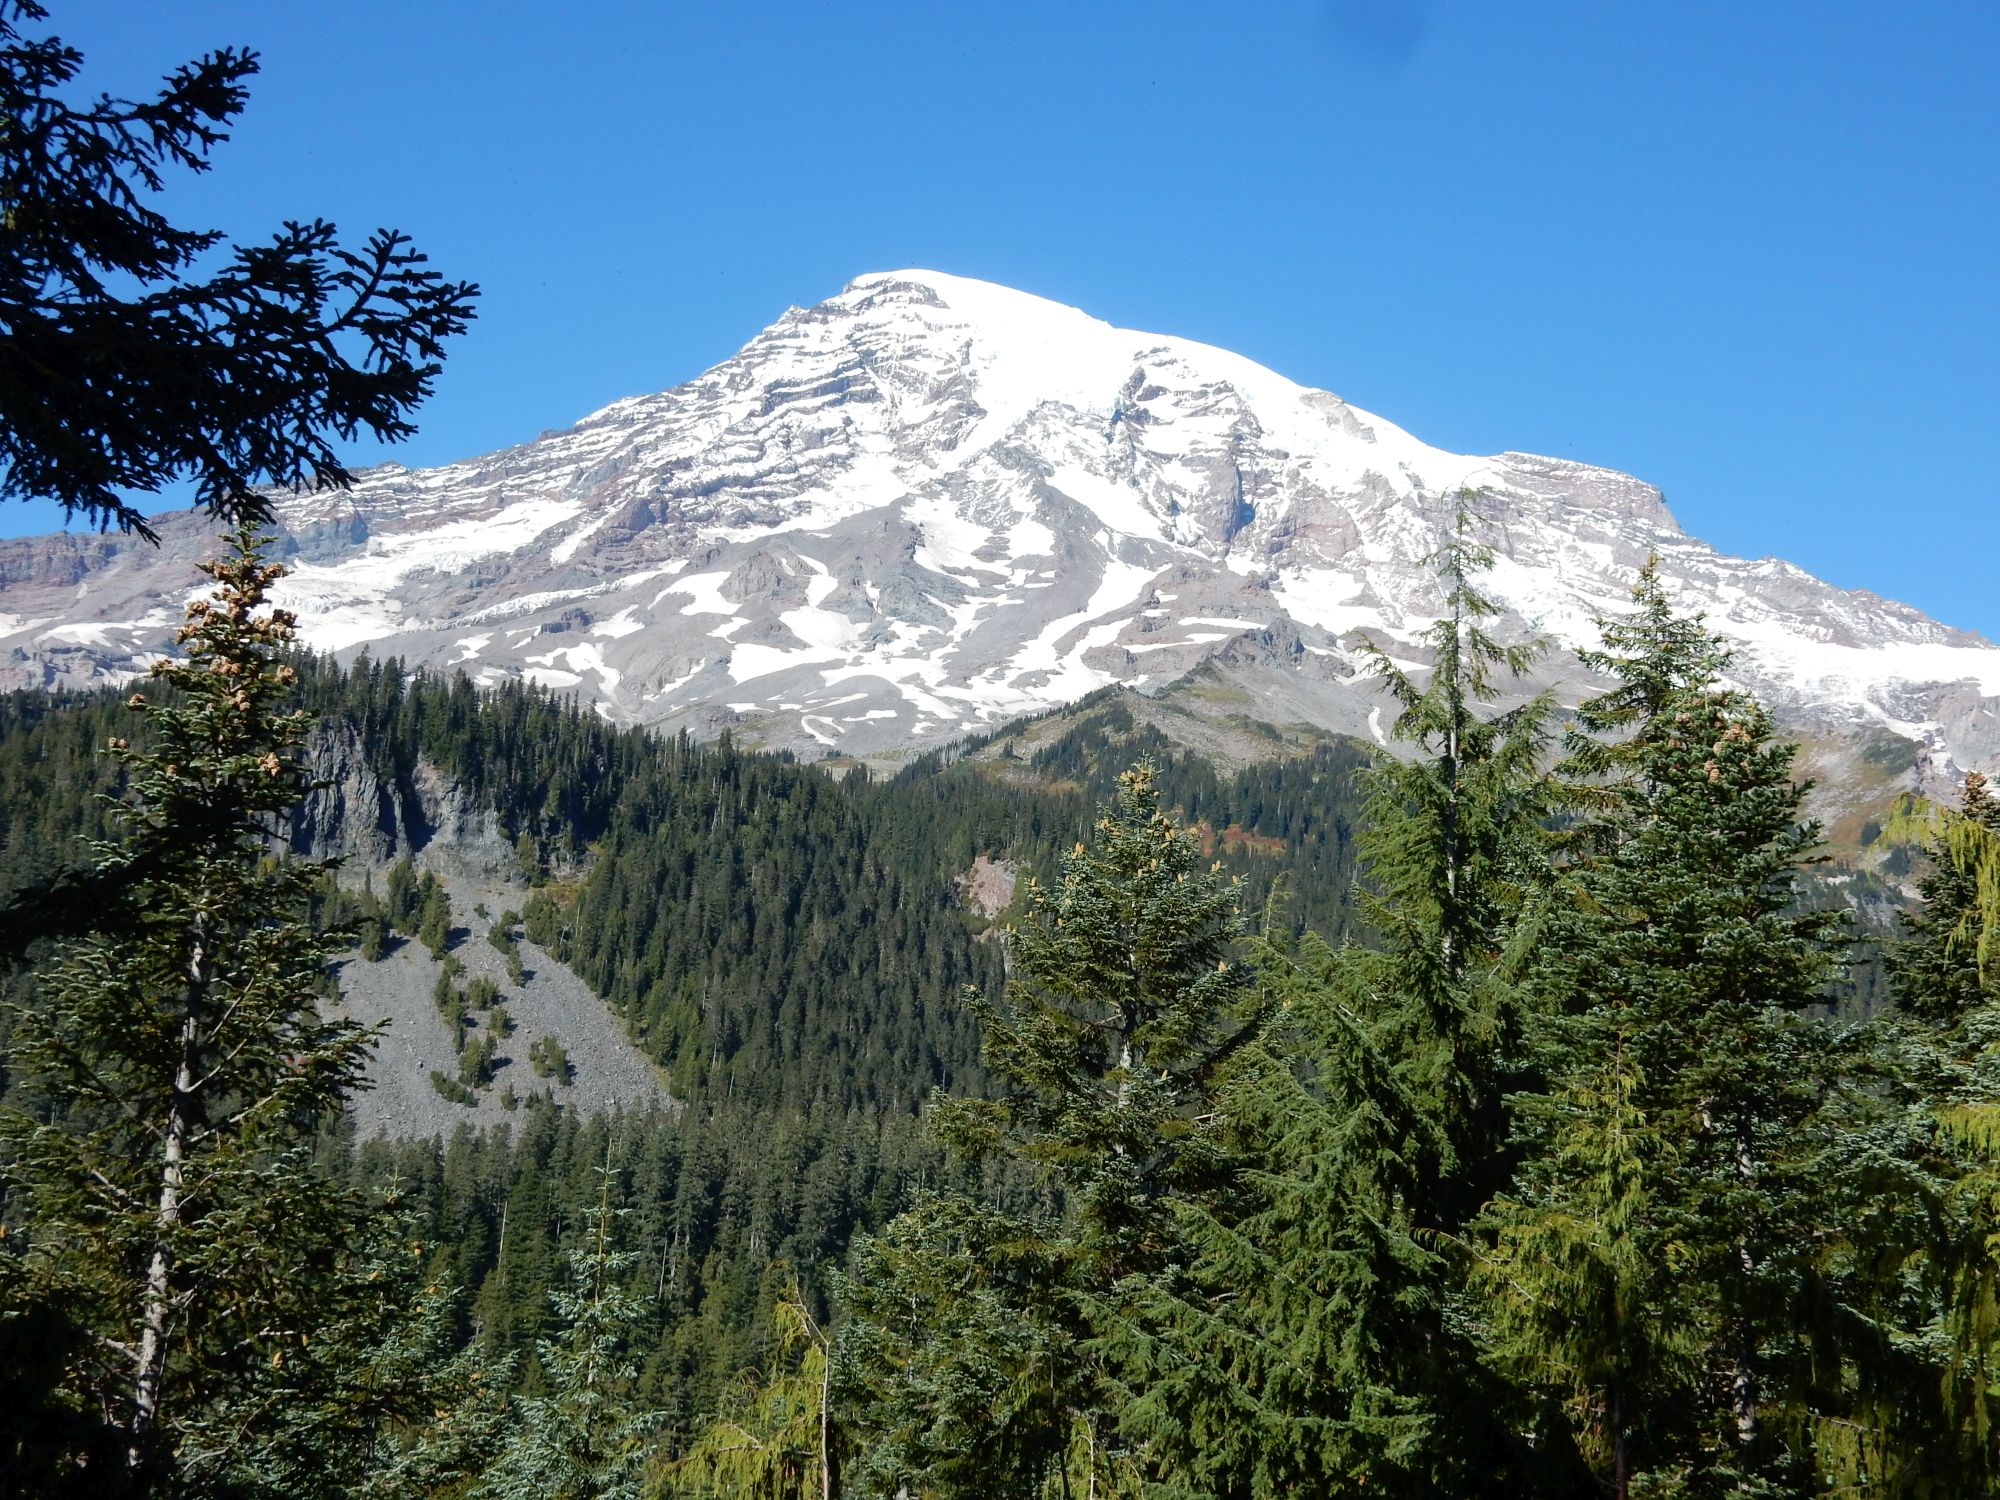
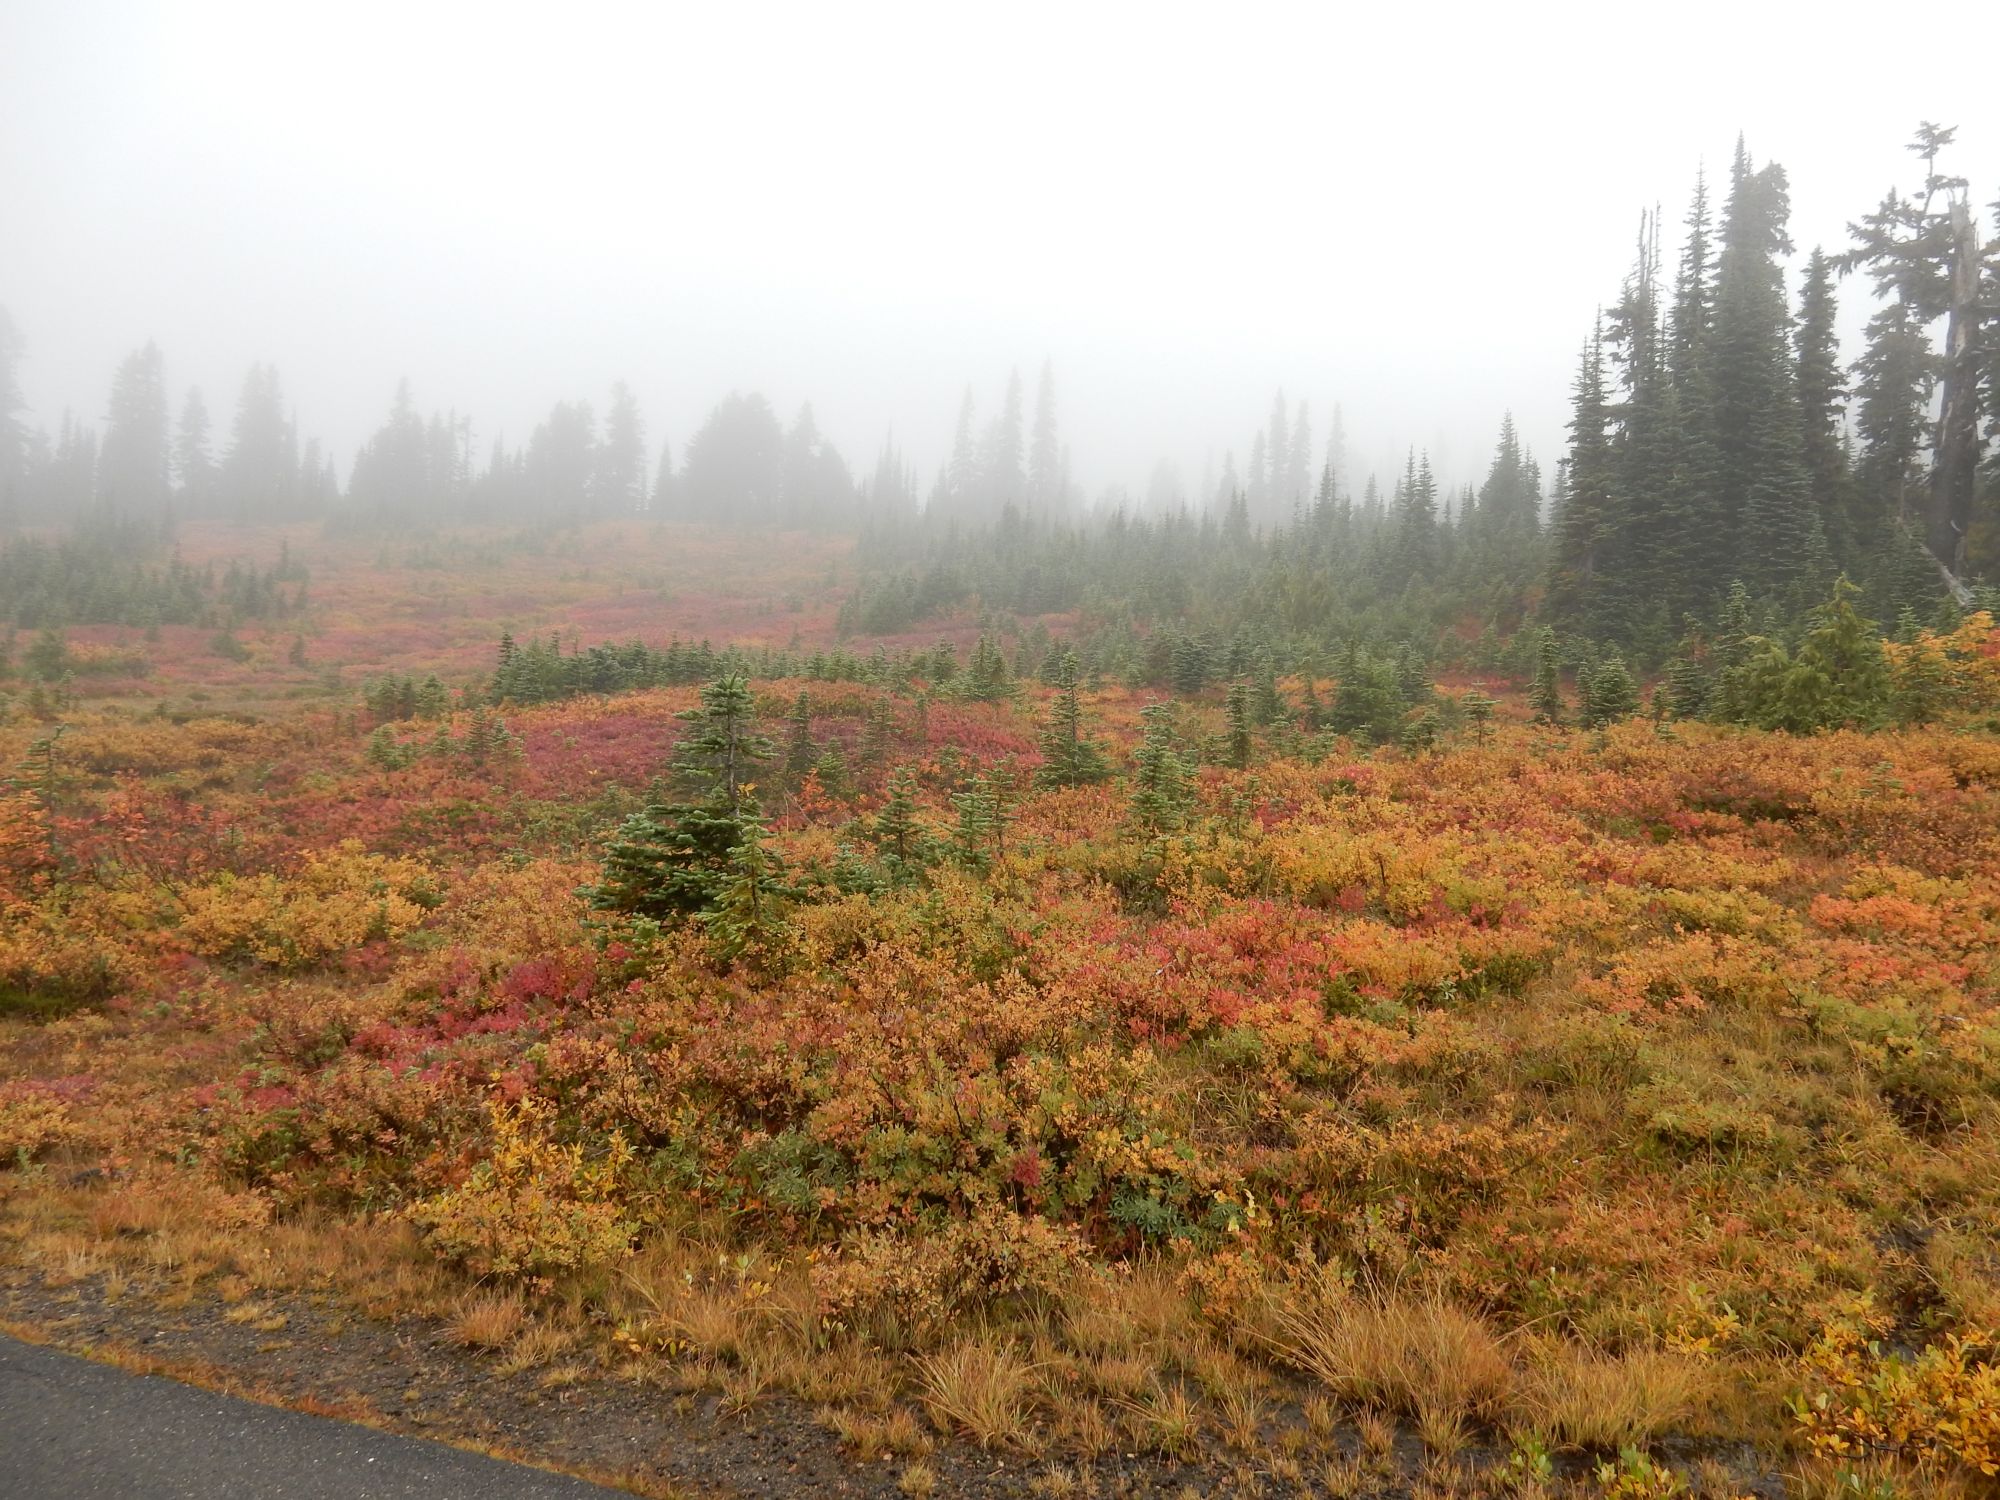
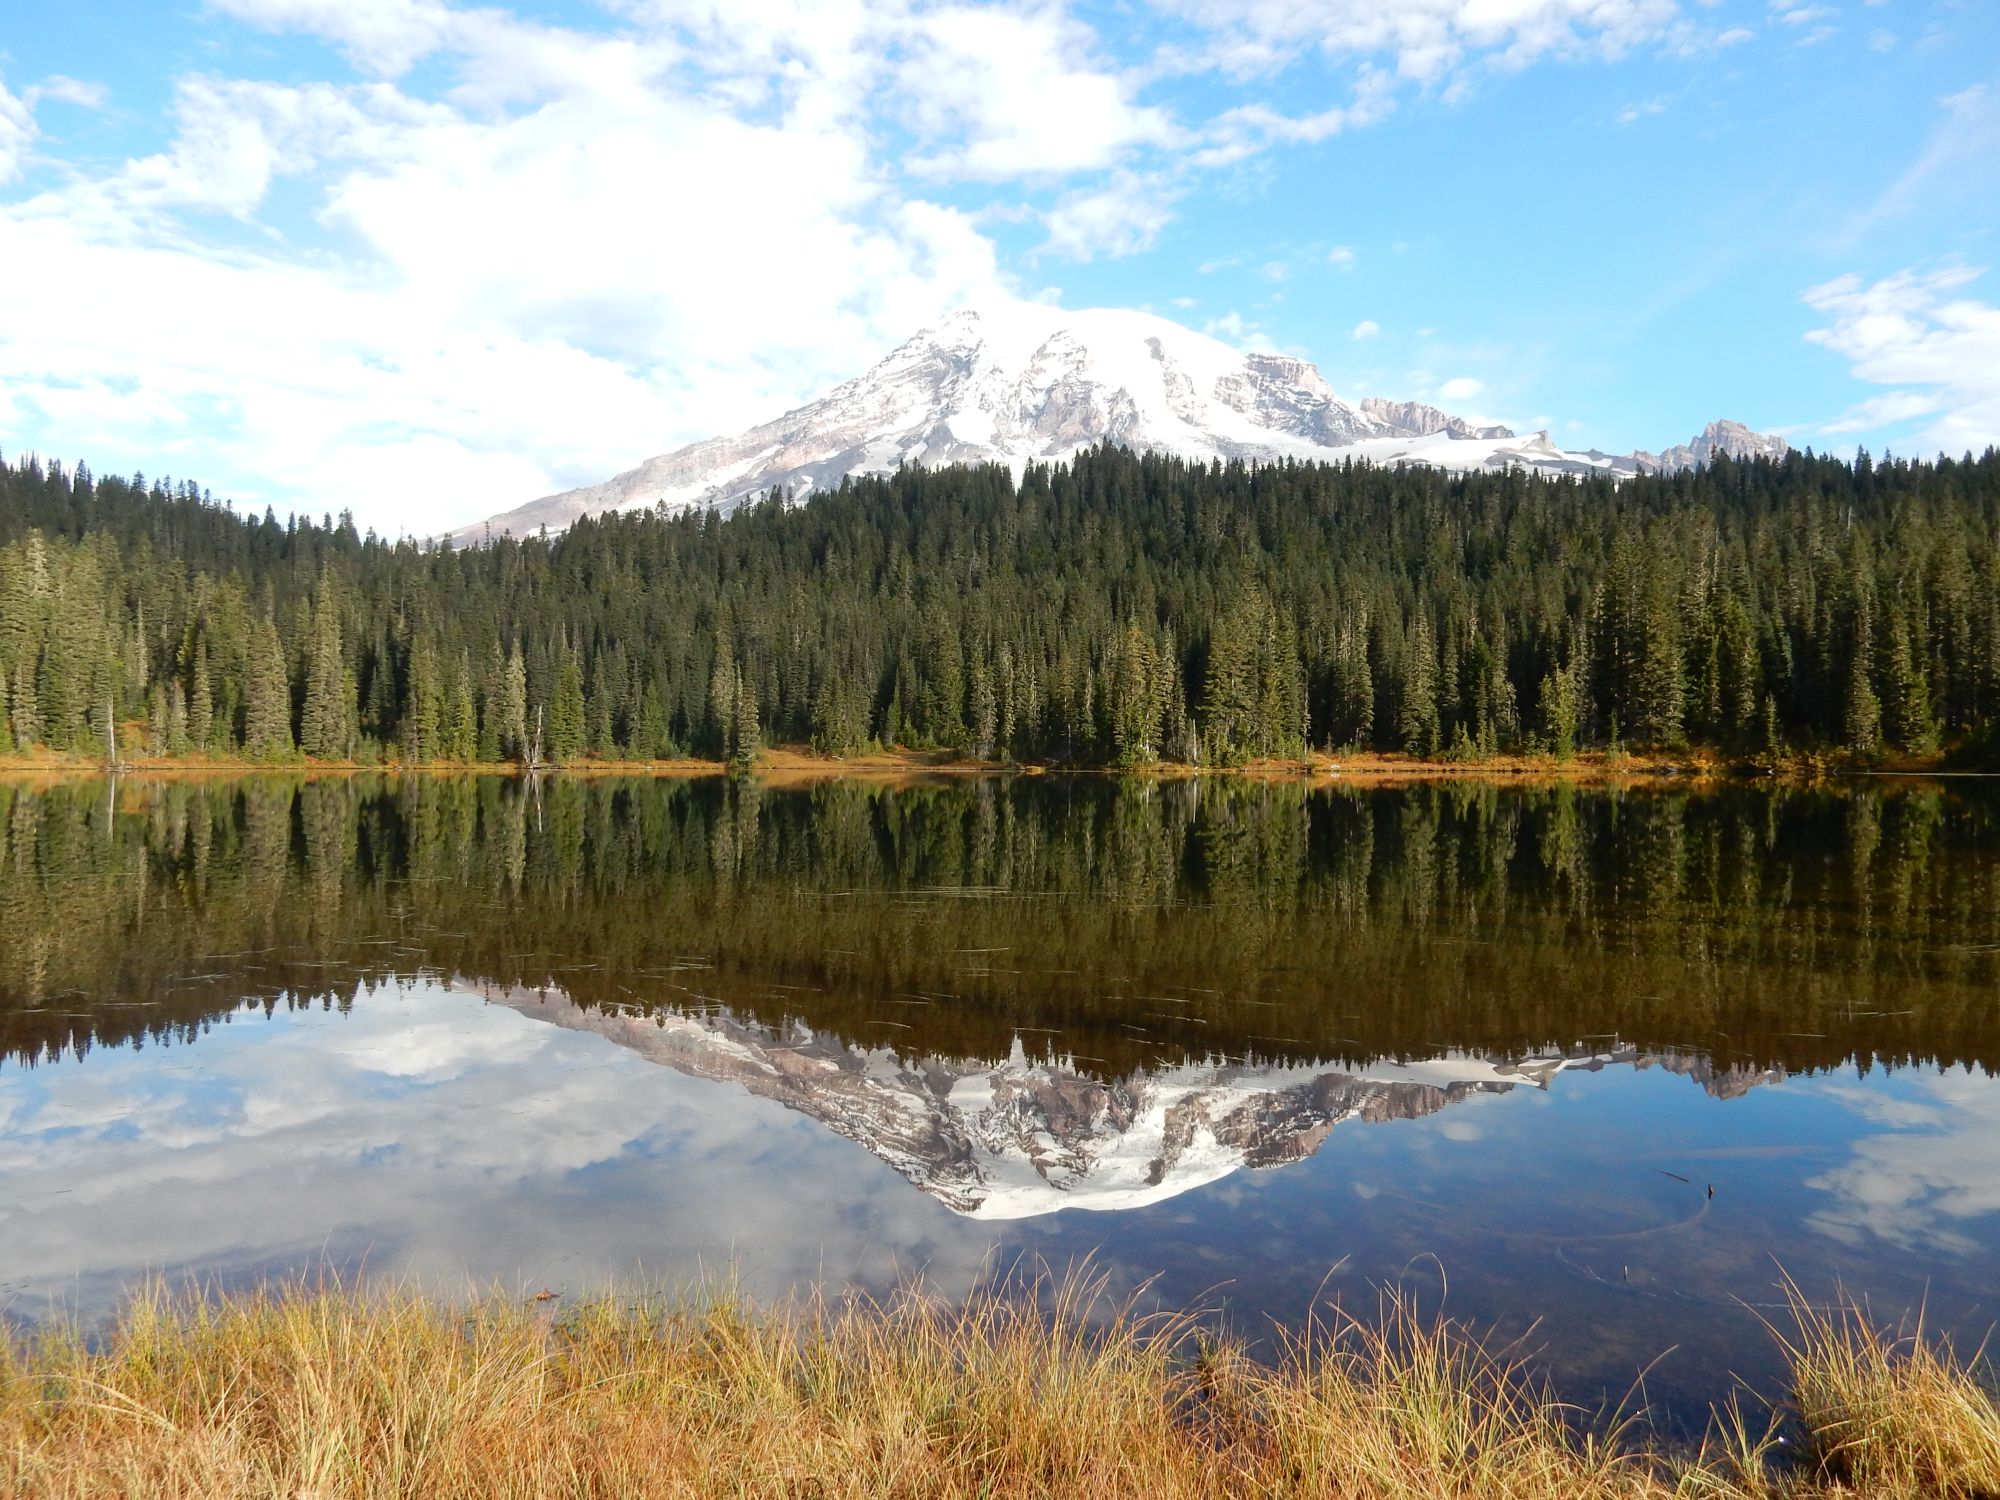
After the shows we went a little further north to Visit Mt Rainier Nat’l Park, which we had not been to before. The first day was clear and sunny and gave us some wonderful pictures. The next day the clouds settled atop the mountain and it could not be seen. But the park was still beautiful with the fall colors seeming to stand out even more in the fog.

113-ranier-9xx

113-ranier-29xx

113-ranier-50xx

113-ranier-merida6

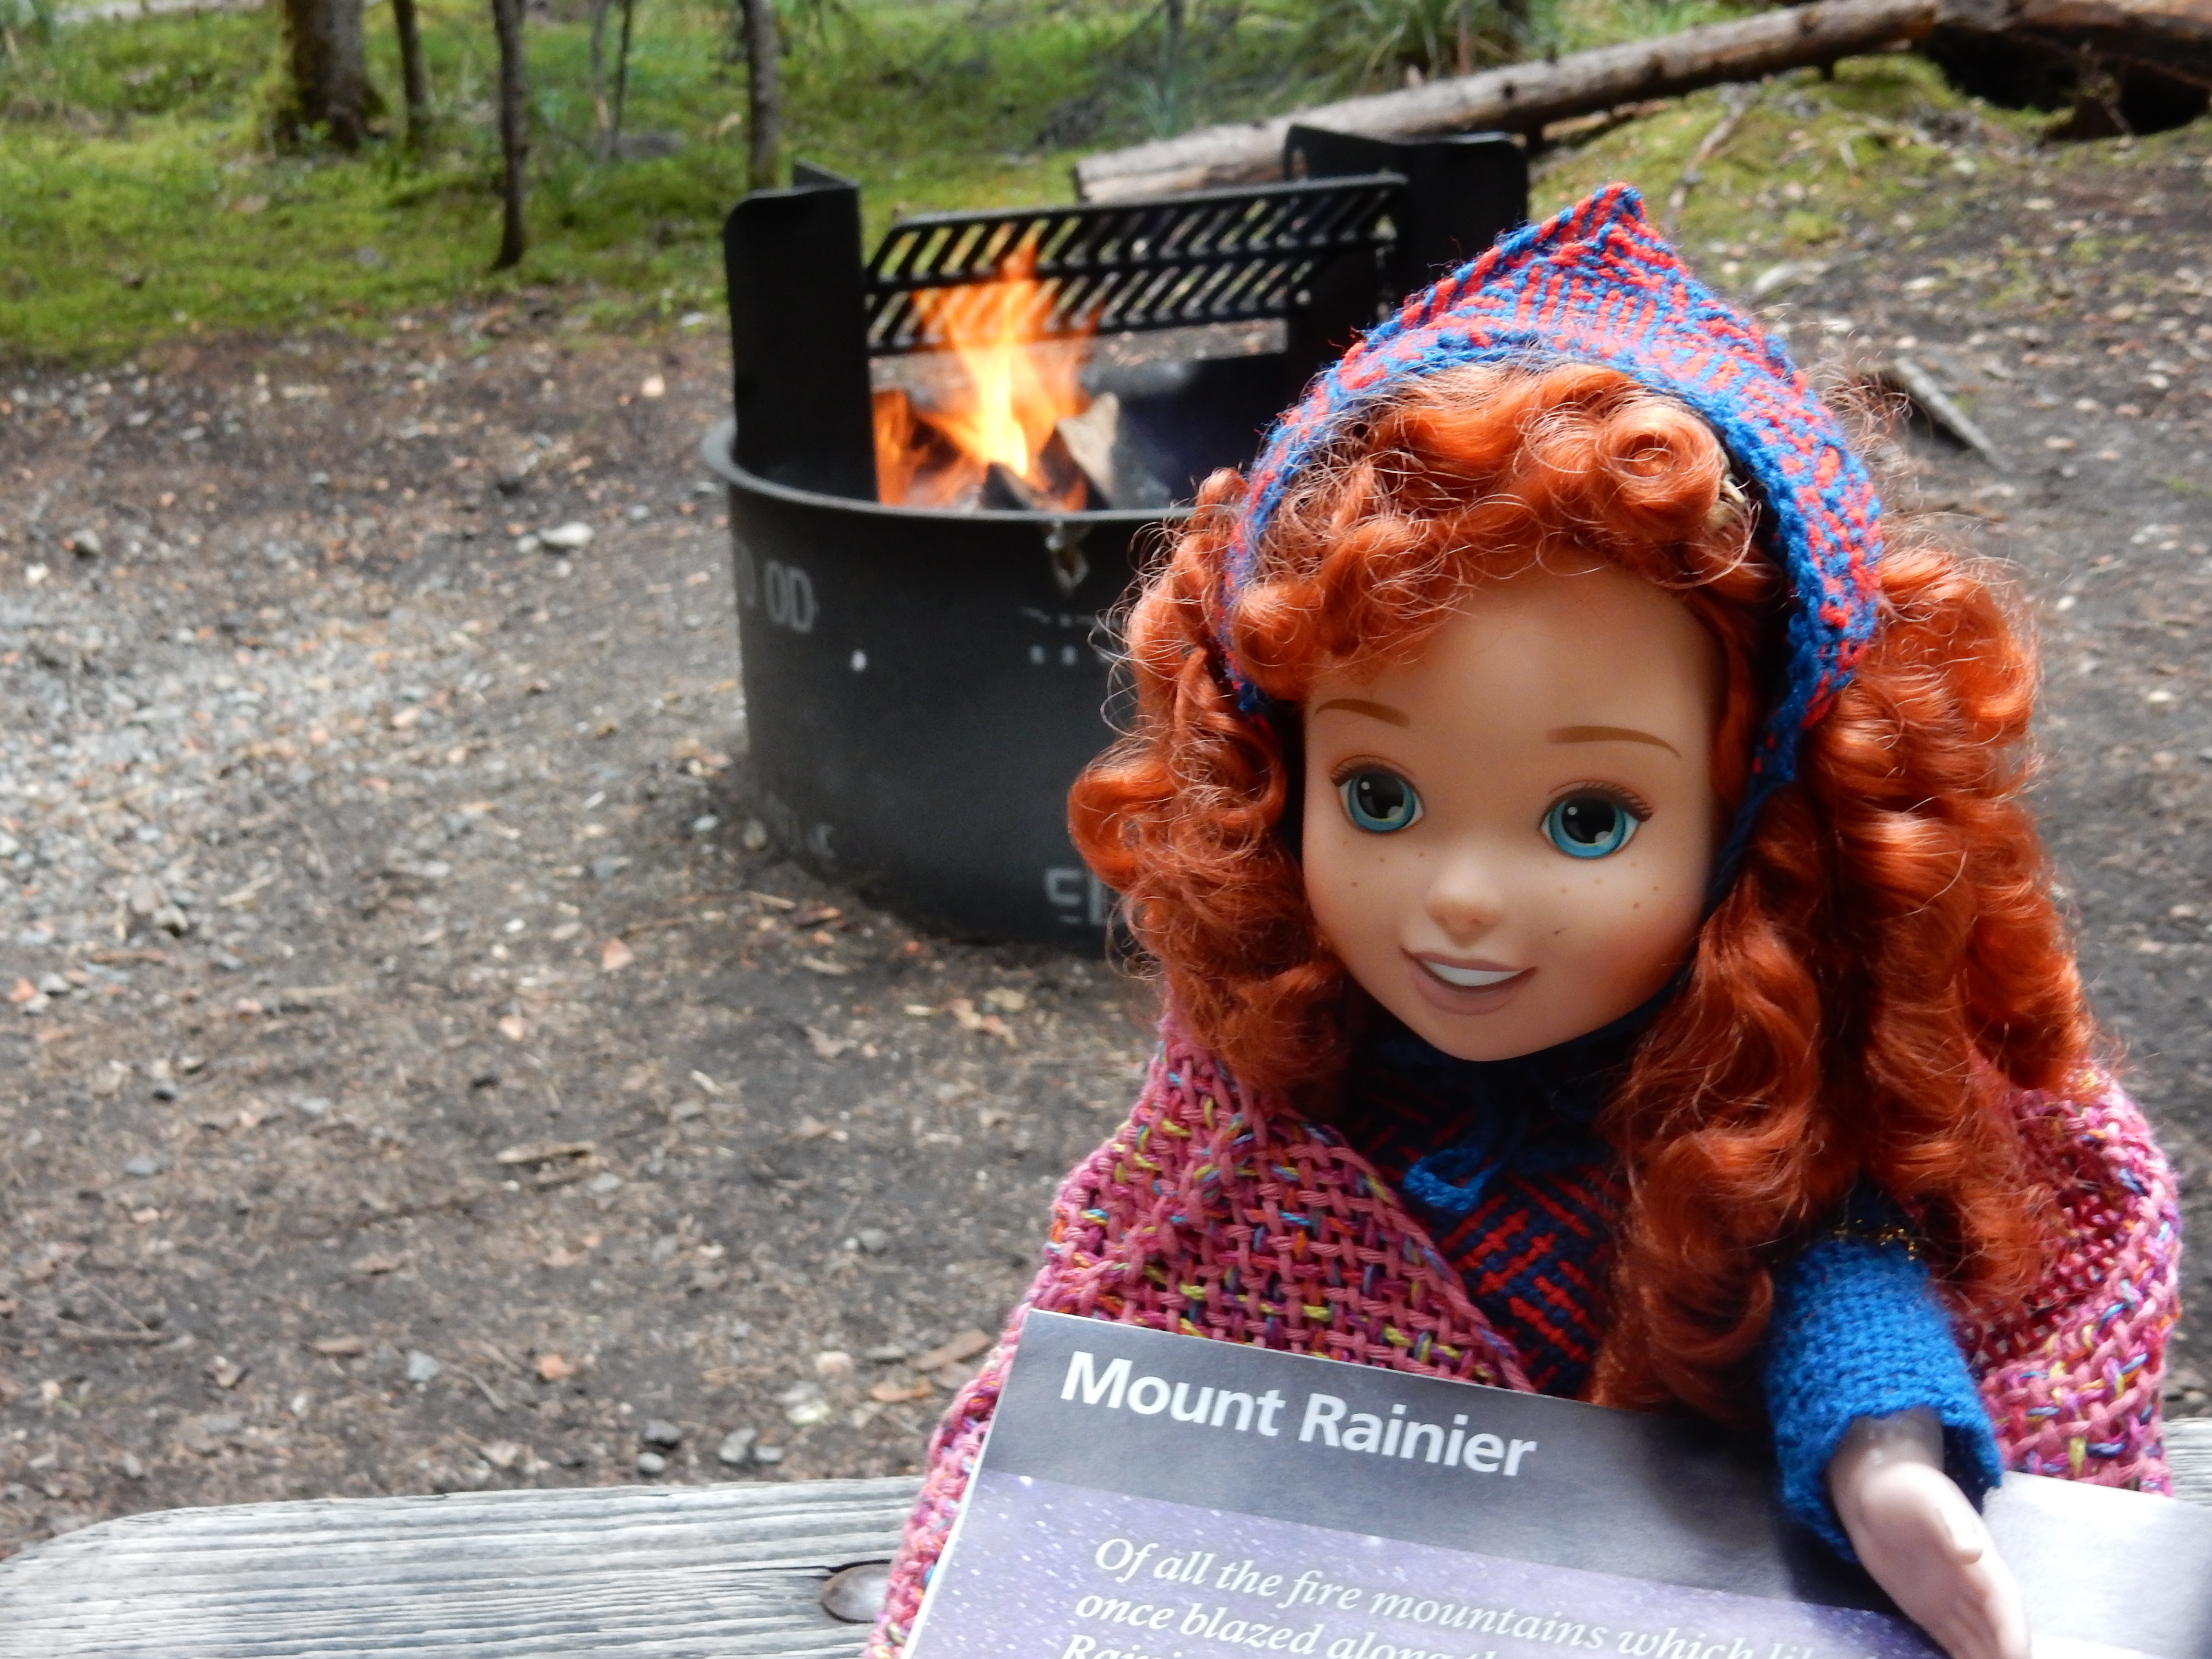
Then we were heading south toward home. But we still had our Tour Guides along the way! 😉

113-ranier-wayout2xxxx

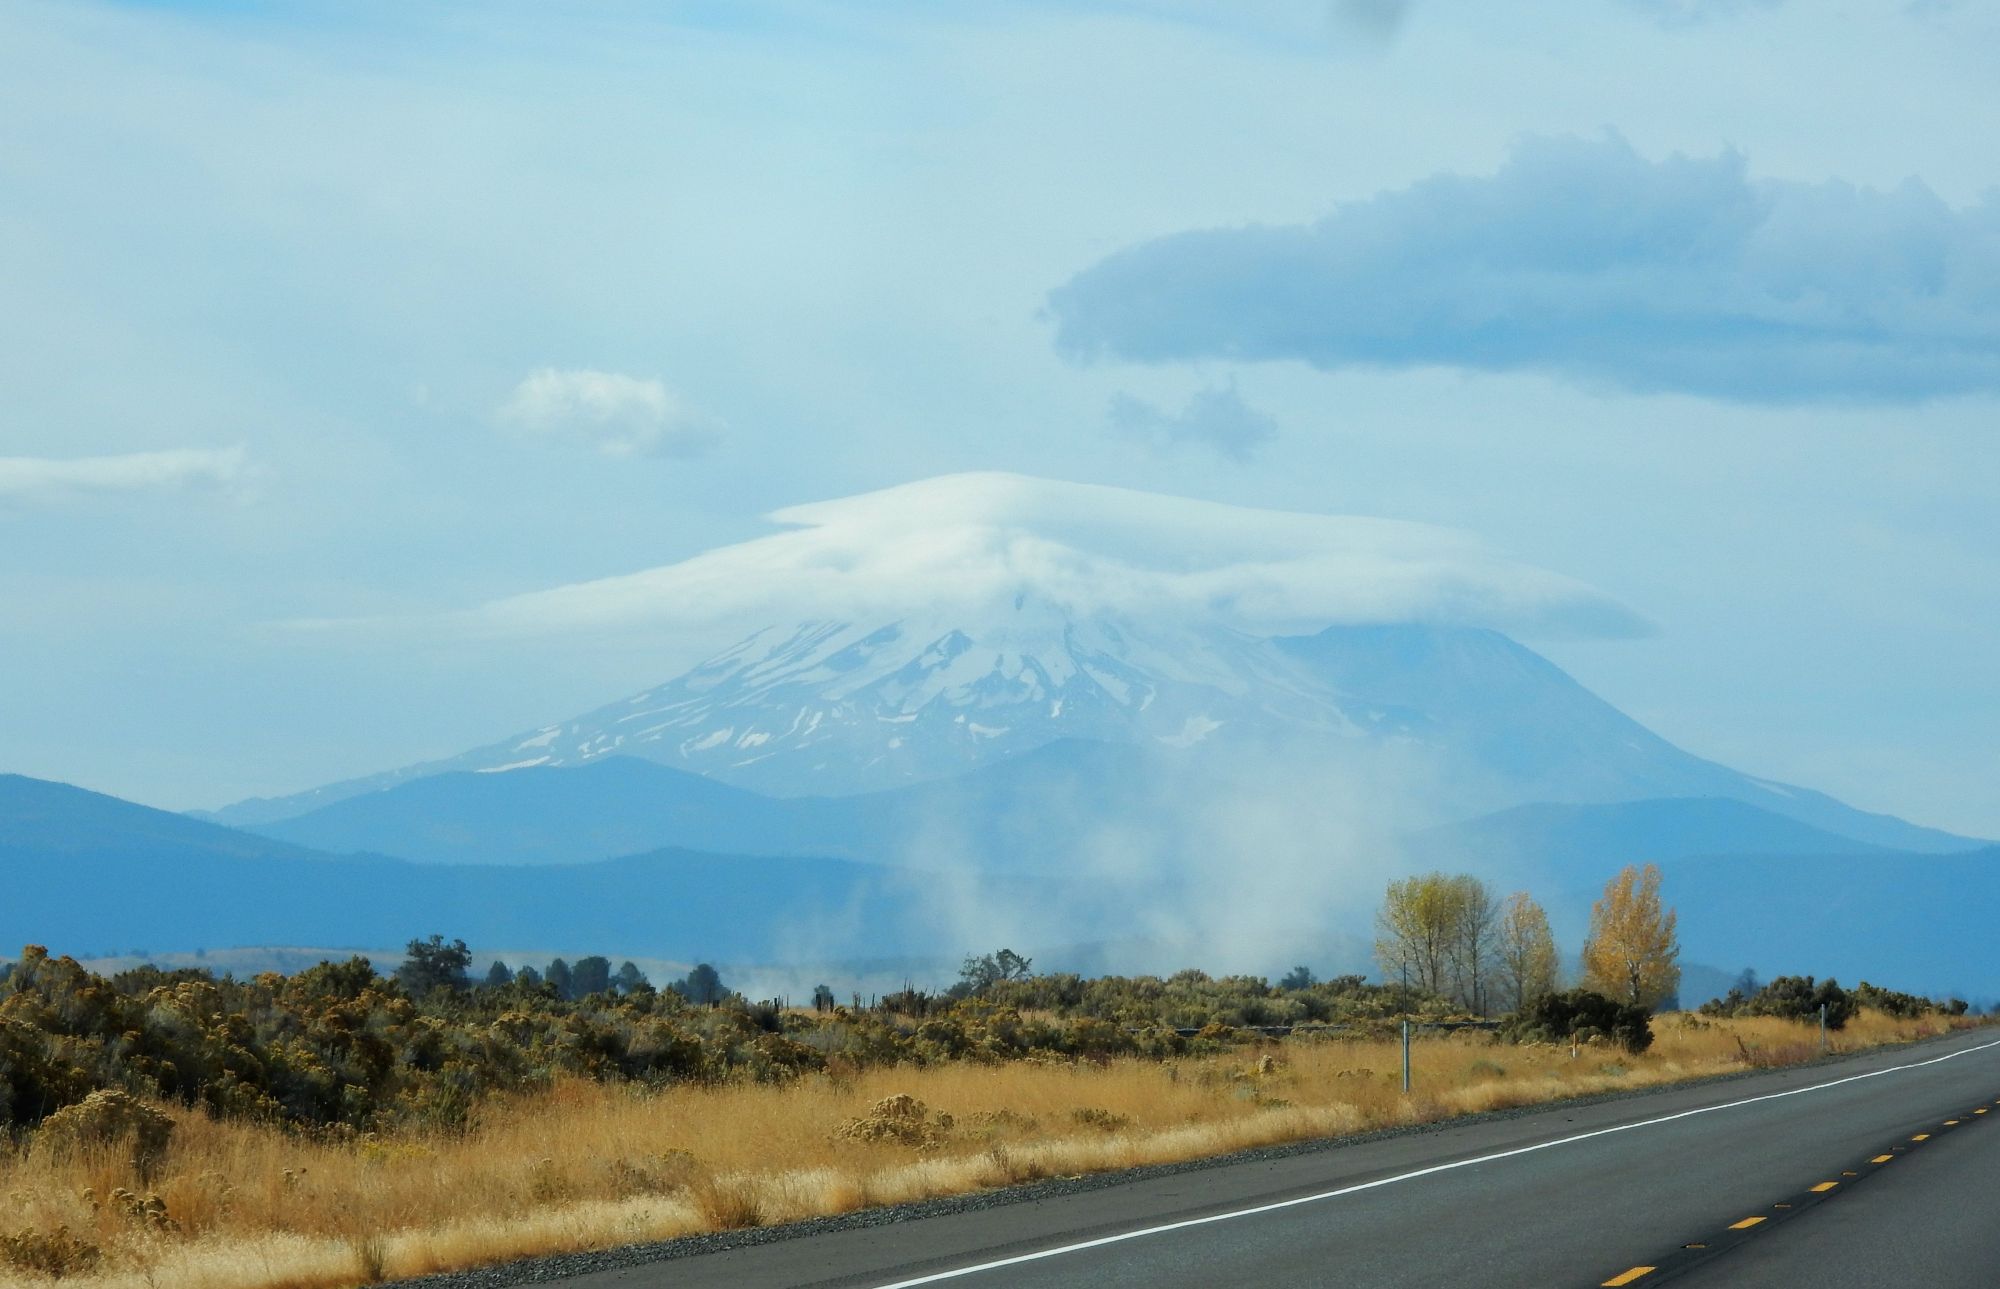
And almost home we saw our ‘local’ volcano, Mt Shasta, wearing her fuzzy winter bonnet! And the wind was blowing up the dust along the way.

114-way-home-shastas-cap2xxx

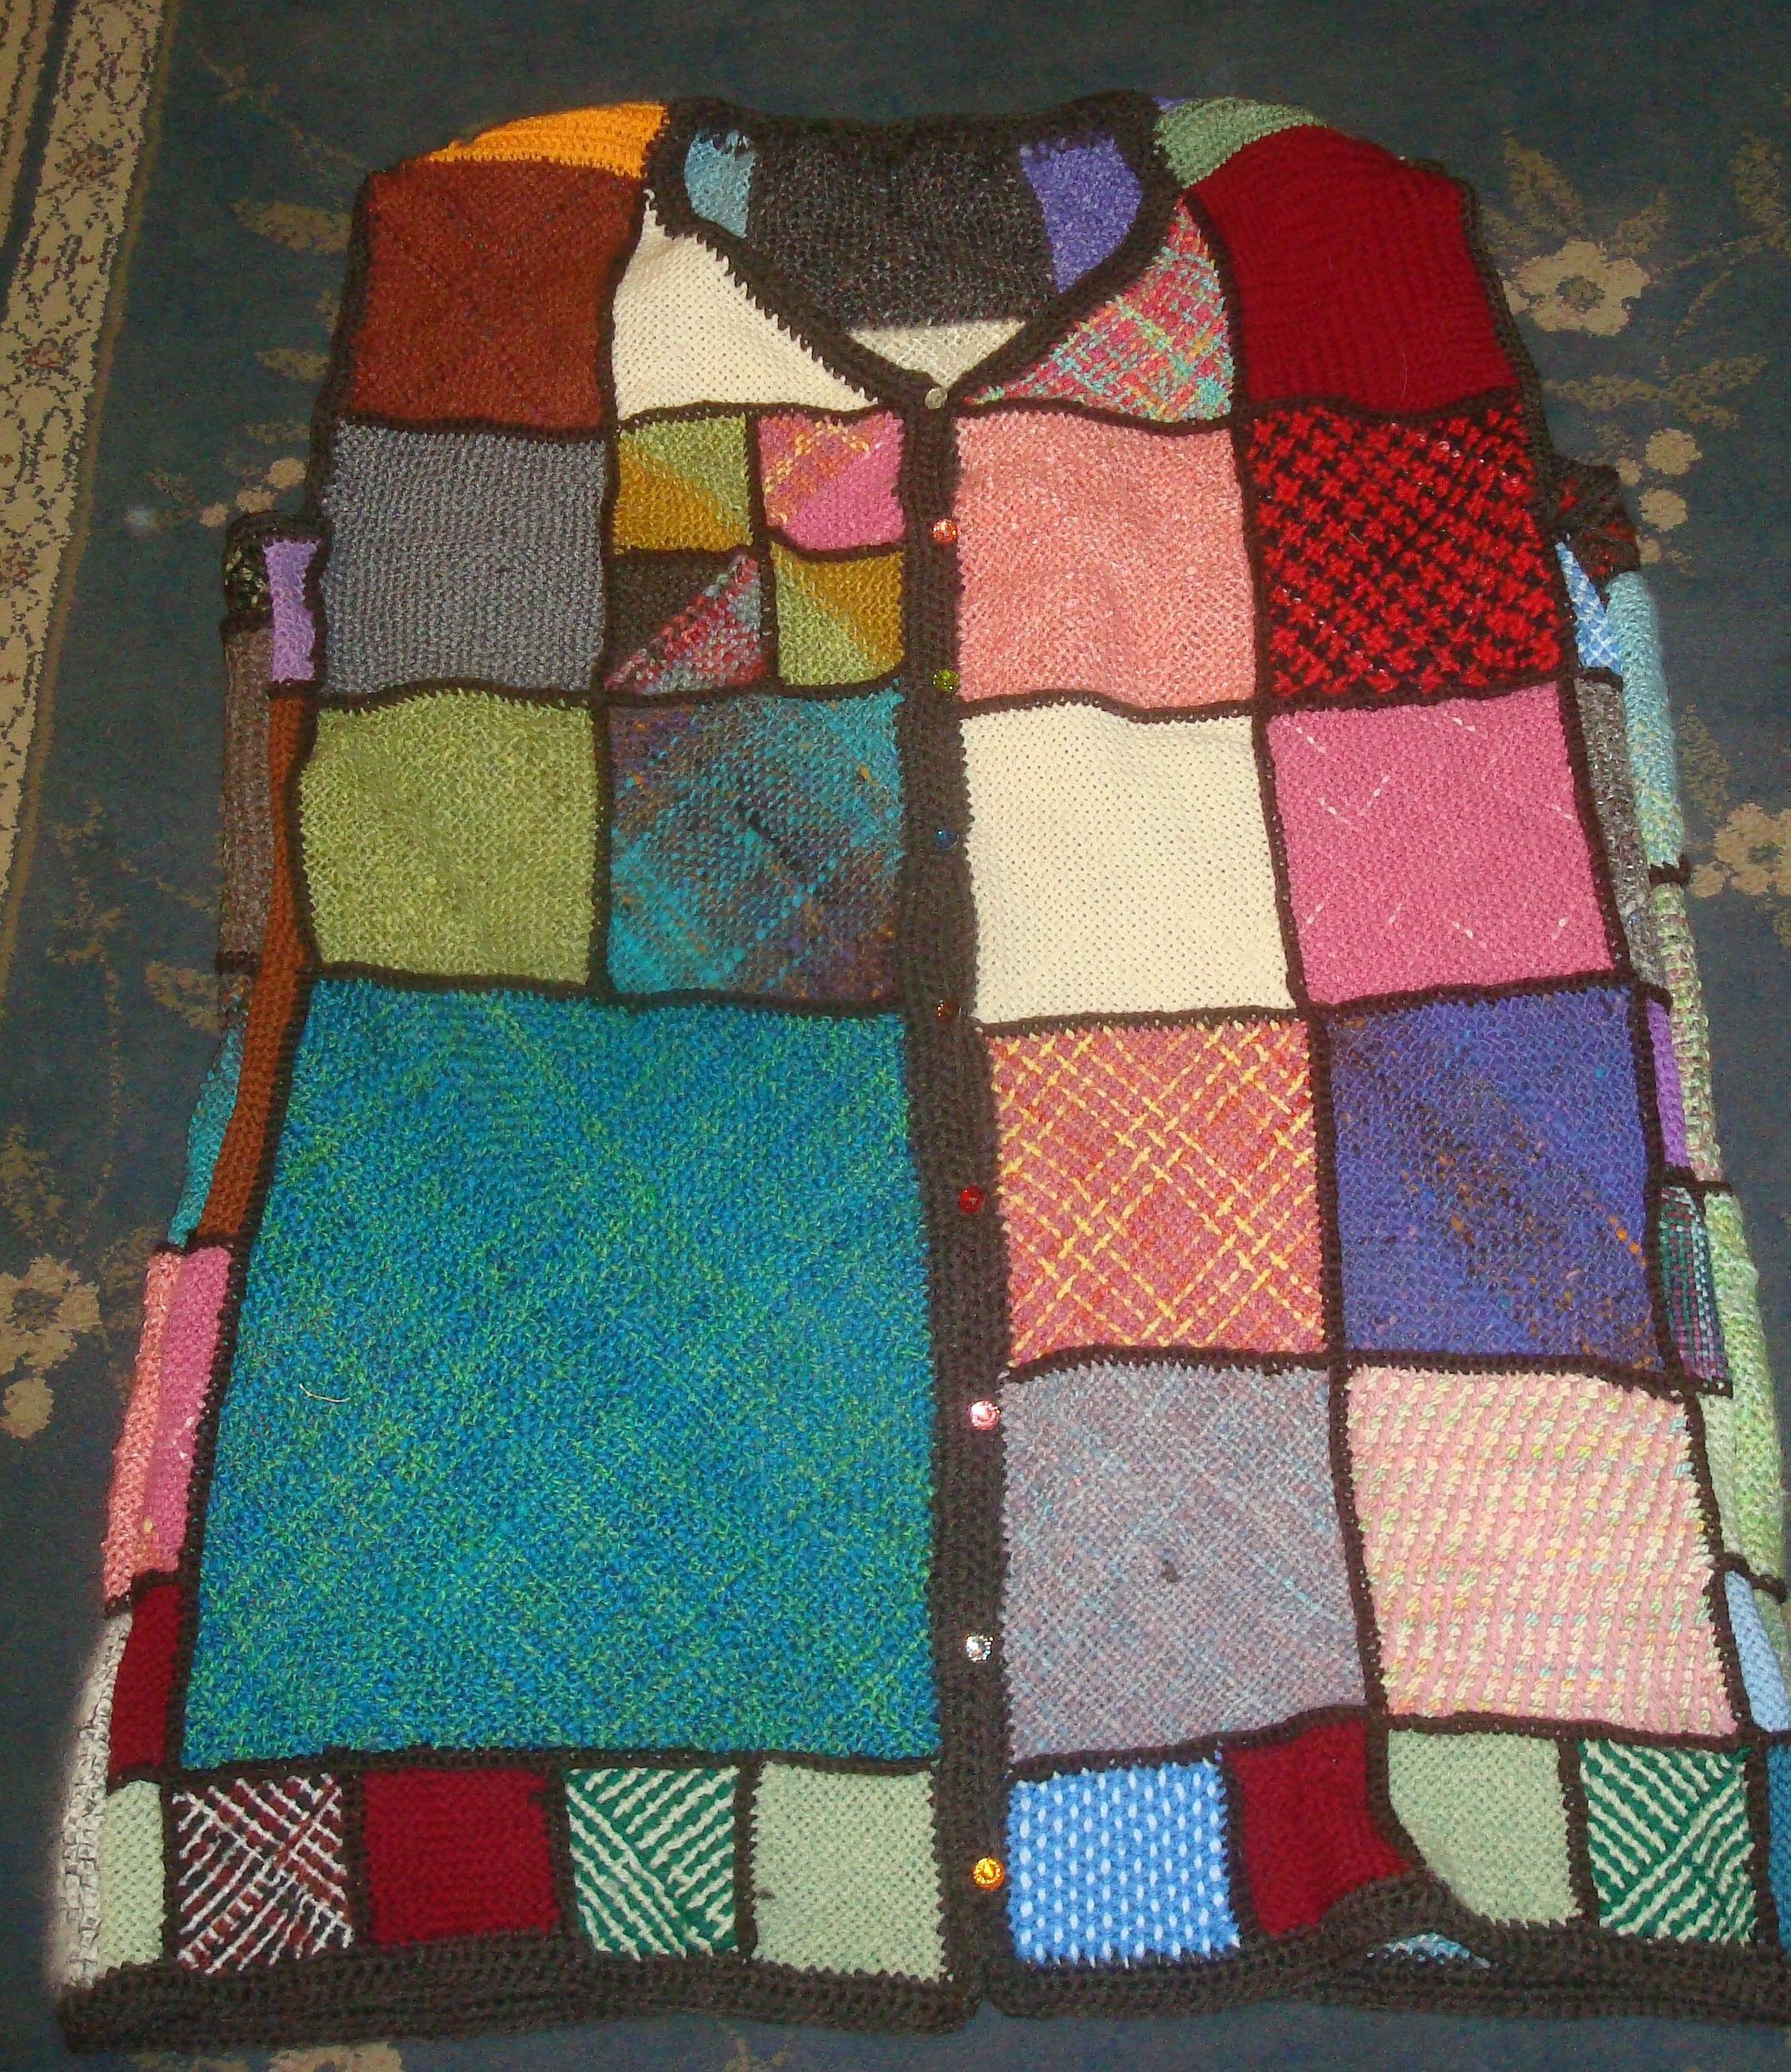
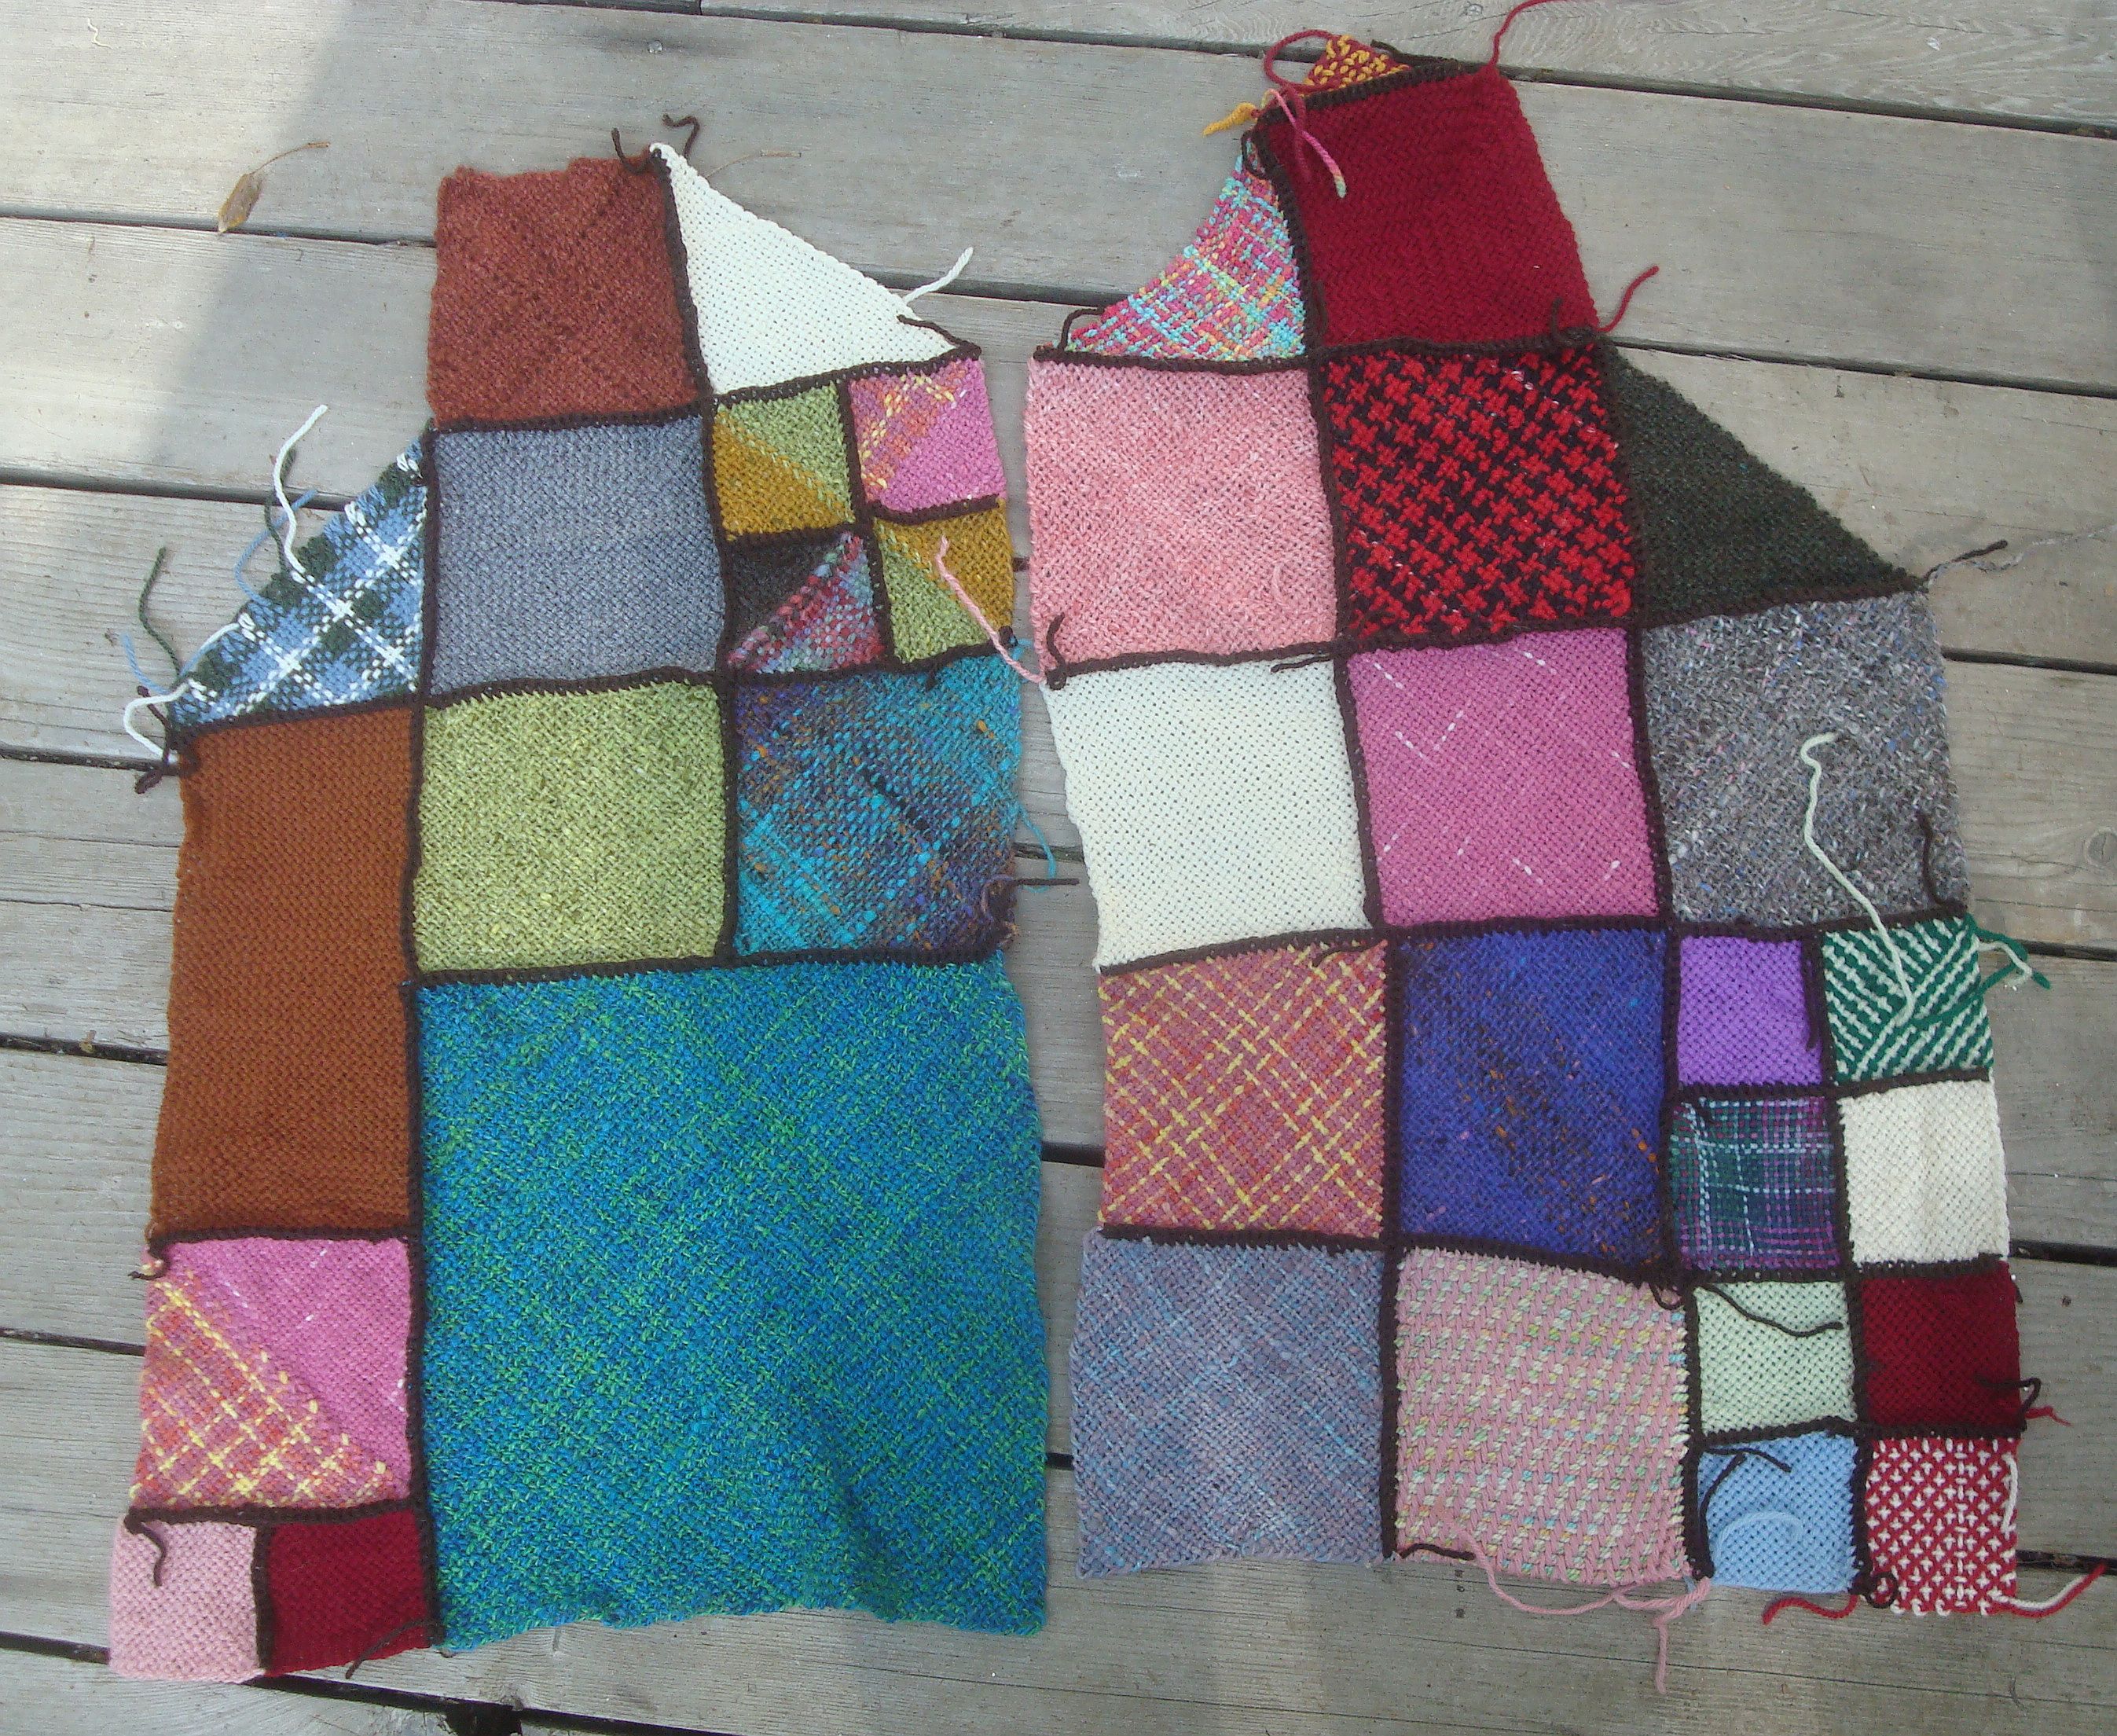
So here we are, at home, enjoying the rain, trying to catch up on orders and planning our trip to Medford to stock up for winter. Randy is working in the wood shed as well as the shop and I am weaving on a couple projects in the evenings while the game is on.

Go Giants!baseball-066


Okay, here it is for better or worse.

Here it is in pictures.

pattern a cb d e f

This one on the right above requires a bit of explanation. I thought I’d try cutting first and stitching later. Bad idea Even trying to be oh so careful it ended up ruffled. I did mange to fix it but did the other side correctly and you can see the difference. Now you’ve had that lesson with no pain of your own! lol

g

I started Crocheting around the sleeve and  after a couple inches decided that that was not good so ripped and found some bias tape which I stitched on instead to make nice neat hems.

Then I found this lace collar among my ‘stuff’. I soaked it into the left-over morning coffee. What do you think? keep or lose? By the way, the color difference is just lighting.

h   i

Sometimes it just doesn’t work.

Got the Tumbling Block version of the Diamond top woven and assembled at last, after much ripping and re doing—don’t ask!— and find that it just doesn’t work. The shoulders are too sloped and the whole neckline is just too wide. I dug out a sewing pattern and as soon as I get over my disappointment and frustration it looks like this one is going to be a cut and sew project. I am not going to waste this good yarn. So check back now and then. Meantime, the only way I have come up with to enlarge the diamond top is by using the 3.5″ squares to make a side gusset.

both

Hope you are having better luck with your projects! Here is one I got from a new weaver in Idaho who was making it work! Jane’s first project!

Jane from Moscow, ID

Happy Weaving!

Some stuff.

I am going to post the basic instructions for the Diamond Top here. If you want a pdf you must email me and I’ll send it along. It has been very popular but you must keep in mind that this is not a one size fits all. This one was made to fit Madelyn, who is quite thin. I am working on the sizing problem and will post as I came up with options. meantime if you make adjustments to fit yourself I do hope you will share them here for the rest of us.

top layout vertical

Above is a chart of the Diamond Top. Assemble rows vertically first then horizontally. This makes the least seams and also helps the diamonds line up nicely. The dotted lines on the front are the shoulders. Assemble front and back, fold on dotted line, and stitch in place. It works, however strange it may seem here. Then sew up the side seams

I worked a row of single crochet and then a row of reverse single crochet (crab stitch) around the neckline to stabilize it a bit. If you find it needs this and you don’t crochet (you really should learn, it’s very useful) you can sew on a bit of lace or trim for the same purpose.

The measurements are of my top for Madelyn. Yours may vary with your weaving style and the yarn you use.

One more thing, in case any of you need looms, I have posted a few misc discounted looms for sale on Ravelry Looms To Go sale thread, The detail are there.

allDSCN1341[1]DSCN1342[1]DSCN1343[1]

A winter project

Here is a little project I have been working on occasionally this fall. I have not quite decided what it’s going to be. right now I am just playing. I also posted this to Ravelry so if you are a member there you may have seen it. I am using the Multi looms because this is sock weight yarn. I bought it at OFFF and have the label somewhere, I’ll look it up. It is hand dyed superwash wool, that I do remember. But after weaving a couple 6” squares, I knew I was going to get bored before the entire large skein was done so got the idea to make 6” squares using the other sizes. I have not run out of options yet. And have not decided if I am going to involve the triangles or not. As you can see I have also not done anything with the tails either. But it is kind of interesting to see how close to the original 6” I can get. The top center block was put together by sc each side and then slip stitched the two sides together. I like how that looks but found that it makes the block just a tince too wide and with more than one seam it makes them way too wide. That could be compensated for by working an edging around the outside of the block but I decided to go with a narrower join, just one row of sc. I chose this dark maroon yarn because I thought it toned the red & green down a bit and also being a bit smaller yarn the seams would be a little less bulky. It’s already been redone once and is still subject to frogging. And I expect it’s going to be a long time finishing. 🙂
Samples

  1. 4×6 & three 2×2
  2. 4×6 & 2×6
  3. Three 2×6
  4. 2×6 & three 2×4
  5. One 6”

Looks like Fall

We have frost warning’s and the weather page is starting me mention snow levels. The chances of it this week are slim, but it’s encouraging to see it mentioned again. We had some rain yesterday, tho not a lot.  But I have been knitting on my 2 year (so far) sweater just have one sleeve to go. And today starting a doll sweater for  an ‘Along’ in my doll group.

I have the tunic, previously mentioned as ‘vest’ put together but am having a problem with it. A lot of people have told me they like the colors and the length but I am not happy with either. I think it’s too long and too gaudy. I’m going to try to over dye it to dull it down some and them I’ll consider length. It’s the sitting problem, you know what that does to loosely woven or knit fabric. 😦  Take my word for it that it looks better here than it does on me. Himself was supposed to get a picture for me as my little camera is being contrary, but he hasn’t had time yet, he says. But I have also got started on my Xmas yarn. Progress of a sort… And no presents made this year. Ah well… Hope your November is starting off on a high note! accoridan

done vest, maybe


Tri looming

There’s been some discussion on Facebook about making tri jackets and sweaters. I made this one years ago, before it began getting too small, those gremlins will keep doing this! Anyway here’s more or less what I did, using my adjustable triangle. These measurements are taken from the aged and much worn garment so are probably not too close to what it started as but will work as a guide since you’d have to make your own size decision. It will show how I put it together in any case.

Front: The large plaid tris are folded over at the shoulder front and back and the tip is folded back to make a cuff at the sleeve. The lines don’t always coincide with the photo but I think you can follow it. The one marked 10 inch is a small tri folded at the under arm to finish the sleeve. The points of the blue tris are folded under, the hypotenuse of those forming the hem front and back.

front layout

Back: The plaid tris are seamed up the back to about 5″ from the fold over, you’ll adjust that to fit you. The front opening and neckline are finished with a row of single crochet and one of reverse sc or crab stitch. This fit me pretty well back in the day. If you have a more rounded figure it may tend to hike up in the back a bit. I’ve gone to using the smaller looms as it gives me a bit more control over fit but this ought to be good for slimmer figures or for children.

back layout

I have a photo of myself wearing this but I don’t have a clue where it is. If I find it I’ll come back and add it. meantime, I hope this little bit of info is helpful to anyone wanting to make use of some nice handspun or even nice “store=bought”!  😉

On a role!

I was hunting something in Le Shed and found a box of demo shapes woven at fiber fairs and am putting them to work. Got out a sewing pattern for a vest and  started putting shapes together. Not exactly free form but at least random. It will be another colorful bit of clothing. Got both fronts mostly together and will start on the back this afternoon.  Goes pretty fast since the weaving has already been done, just a matter of laying it out. I think this time I’ll just crochet in whatever little missing bits I might need.

But first I have some shop work to take care of as someone is waiting for their looms. Go get out your UFO’s and start putting something together!

DSC03419

DSC03414

Next project.

Got this Tee at a fair last year, forgot which. Did not work with the yarn I had in mind so am now using this neon Simply Soft acrylic to weave on the Tiny Weaver square. It’ll be another yoke for a top.  Has to be machine washable for me. I think it’s going to work. I wove the blocks and am now working a single crochet around each one. I think I will then just sew them together with an overhand stitch. Not exactly camo, huh?! Much as i enjoyed the natural covers of my last project, I thought it was time for something Bright!

DSC03376 a

Meantime, a little fun project!

The windsock I made in April of 2008 has finally did what the plastic bag makers told us they would. It’s on it’s way back to it’s component parts. I tried to save it, but it was falling to bits as I worked . Then my eye fell on the basket of yarn snippets and scraps. The birds have never shown any interest is using this lovely nesting material so….


DSC03267 DSC03268


DSC03269 DSC03270

You can see that there were all sorts of bits in the basket, lace to bulky, wool, acrylic, mohair, cotton… I picked randomly and decided on the spot if it was long enough. It’s mostly pieces from about 4″ to several yards in one case. And I decided that the knots were a design element so pulled them all to the right side.


DSC03271 DSC03272

But the knot-less side looks good, too. The green is a  square I wove for the one that just ‘died’. If you have a stash of fairly young bags  they do make light and fluttery wind socks. Mine lasted 7 years. I have no idea how long the yarn one is going to last. They all get exposed to all sorts of weather.


DSC03273  ShoppingBag 4-2008


And here it is out on the maple with the remaining plastic bag one. I still have a small ball of this knotted yarn so there might be more coming. After the cardigan is finished, of course!

DSC03274