Tag Archive | 12″ squares

Happy Thanks Giving!

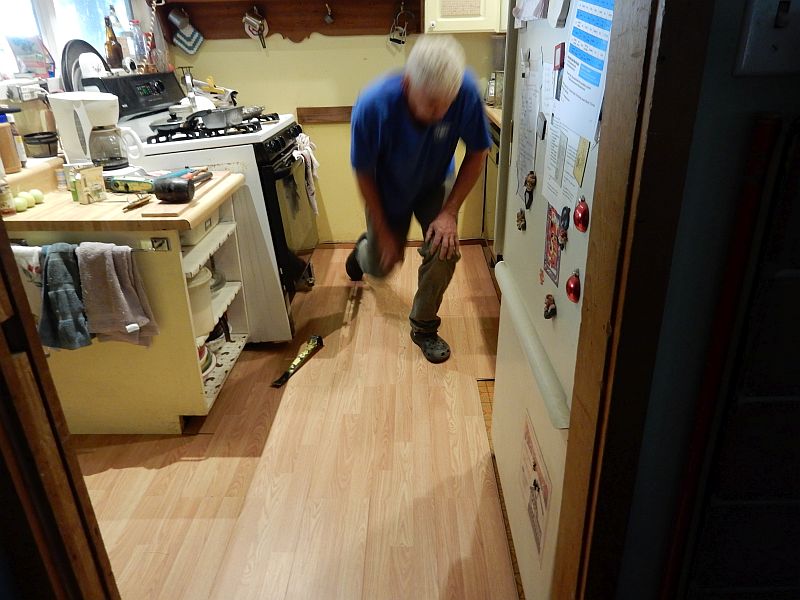
And I hope, for all of us, a grateful one. In spite of our griping, we all have many things to be thankful for. I am thankful for family and for having some of them here this weekend & next. I’m thankful for hubbies swearing away in the kitchen, putting down badly needed new flooring, and thankful for my early xmas present, a new camera! so I can show you all what’s happening. He’s a little blurry since I shot just as he was getting up  off the new floor but you can see that he is hard at work. It’s going to be nice! There are occasional advantages to being married to the contractor. 🙂

new floor


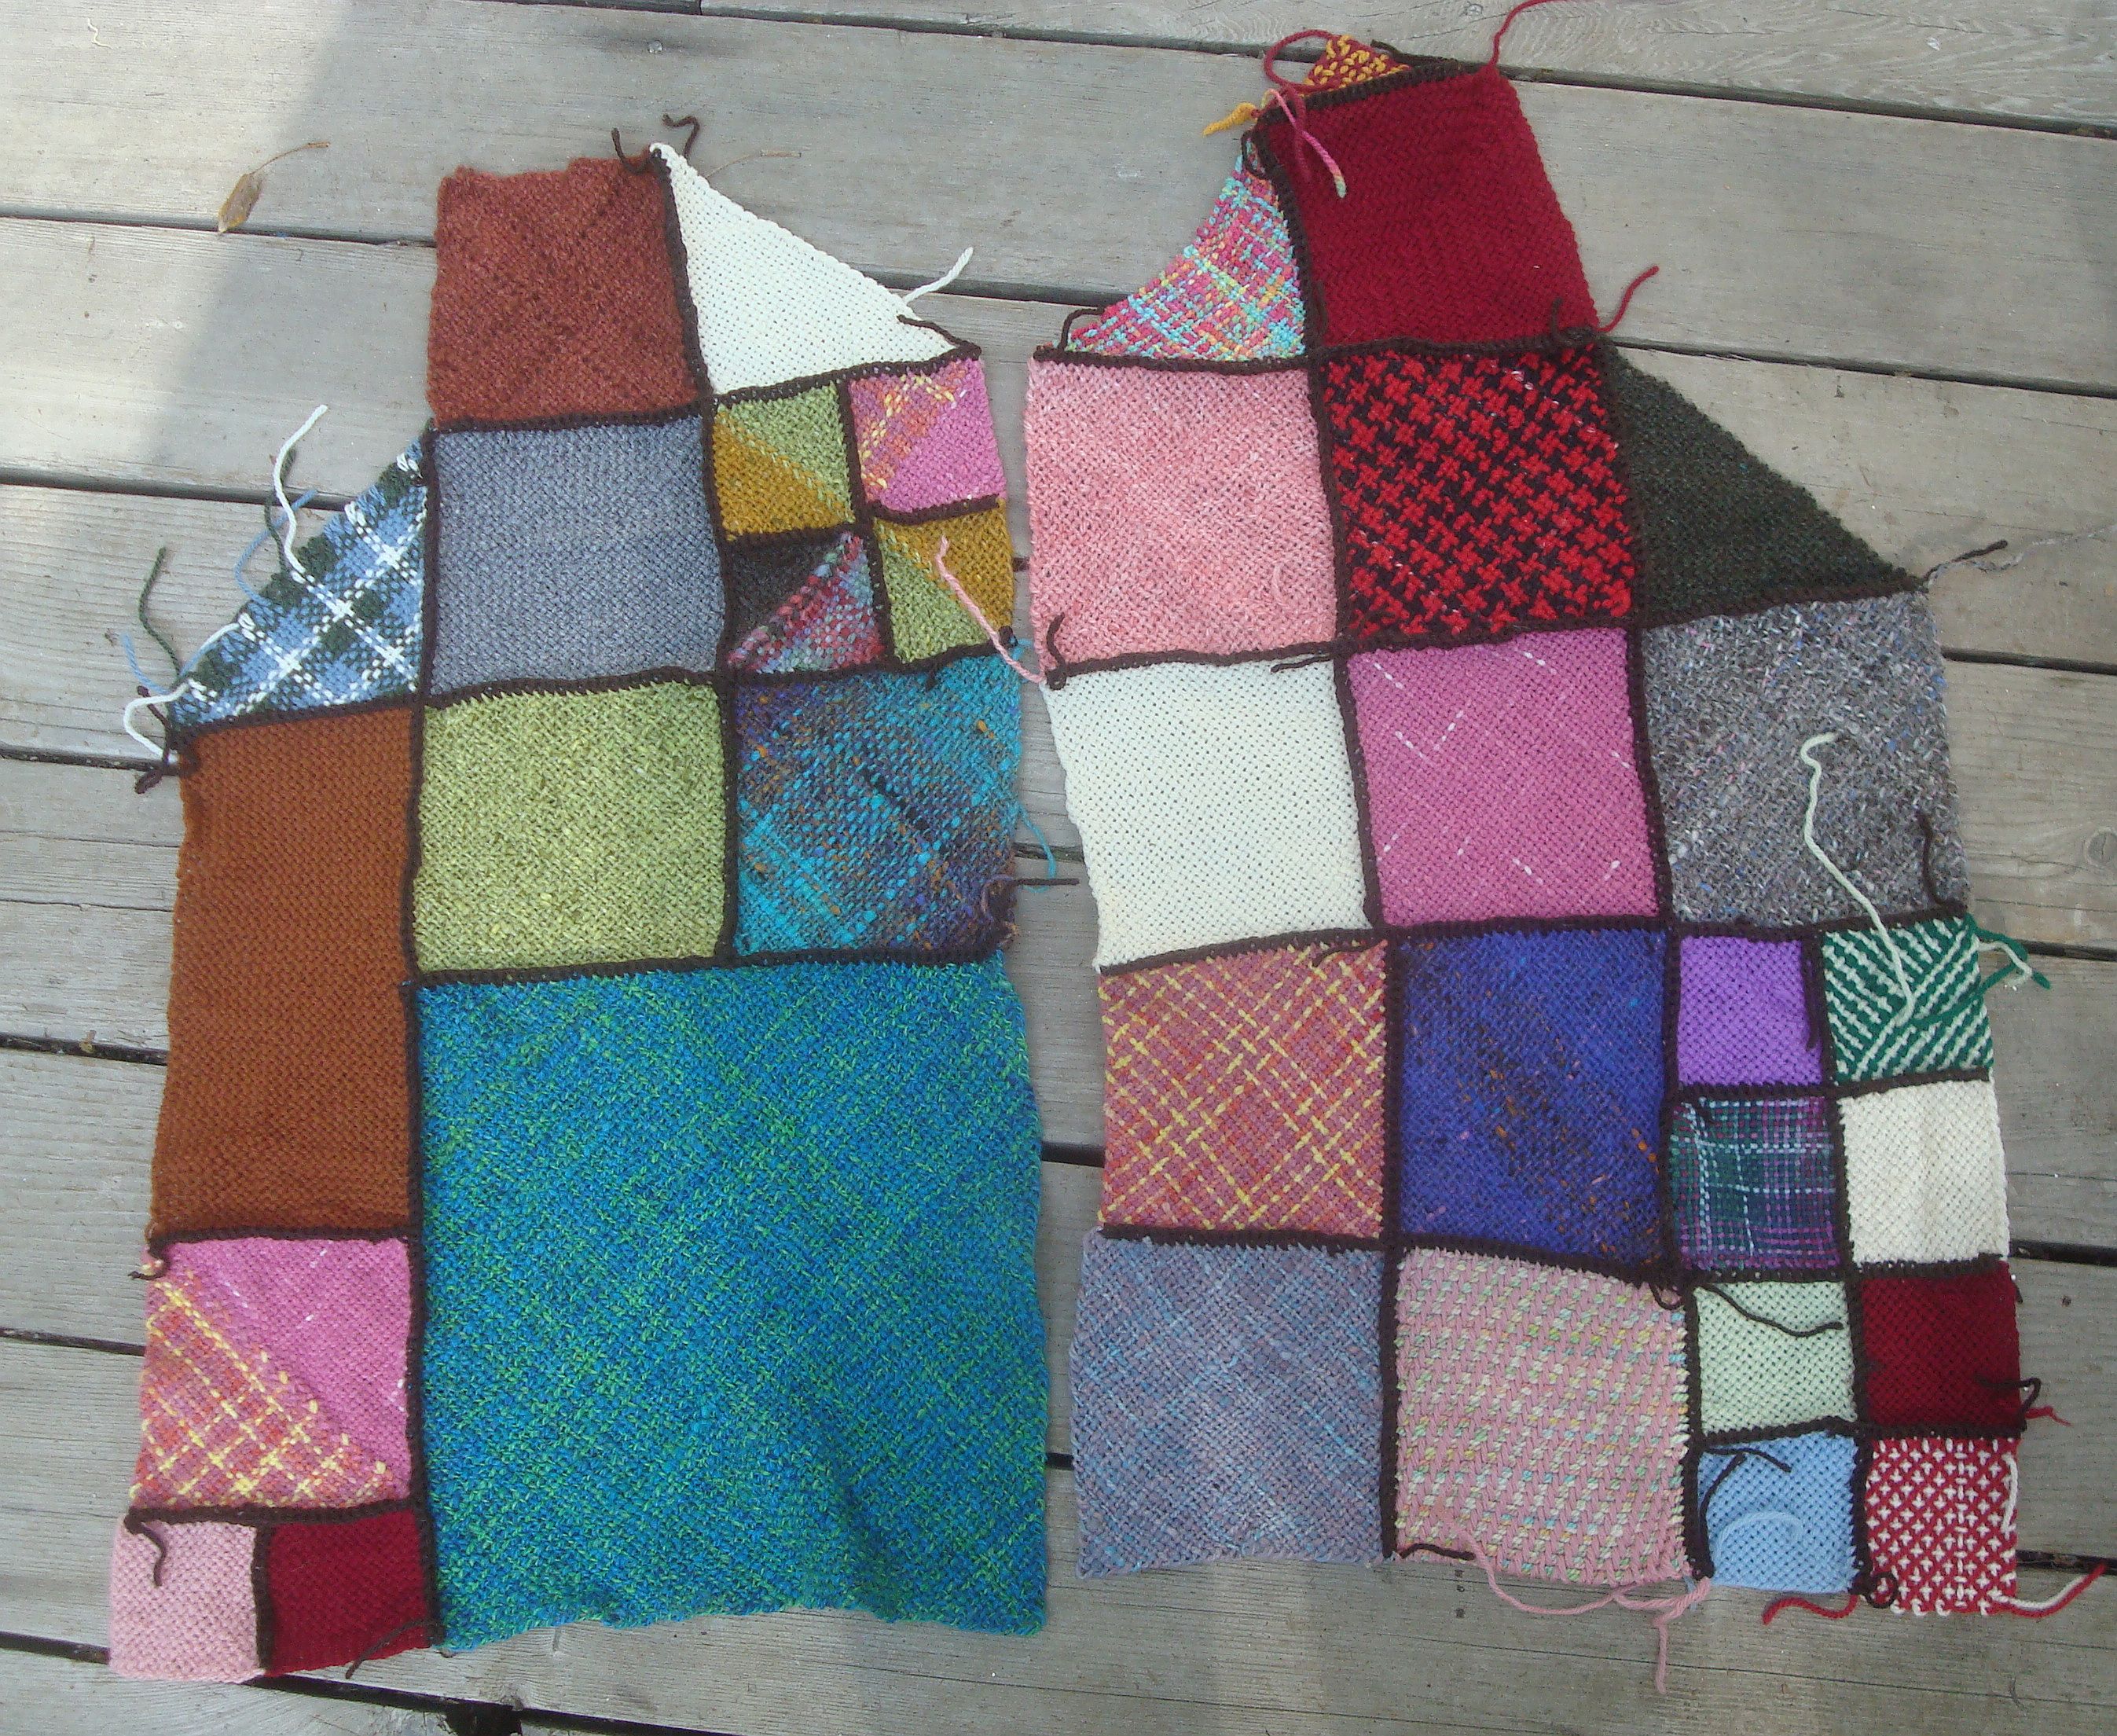
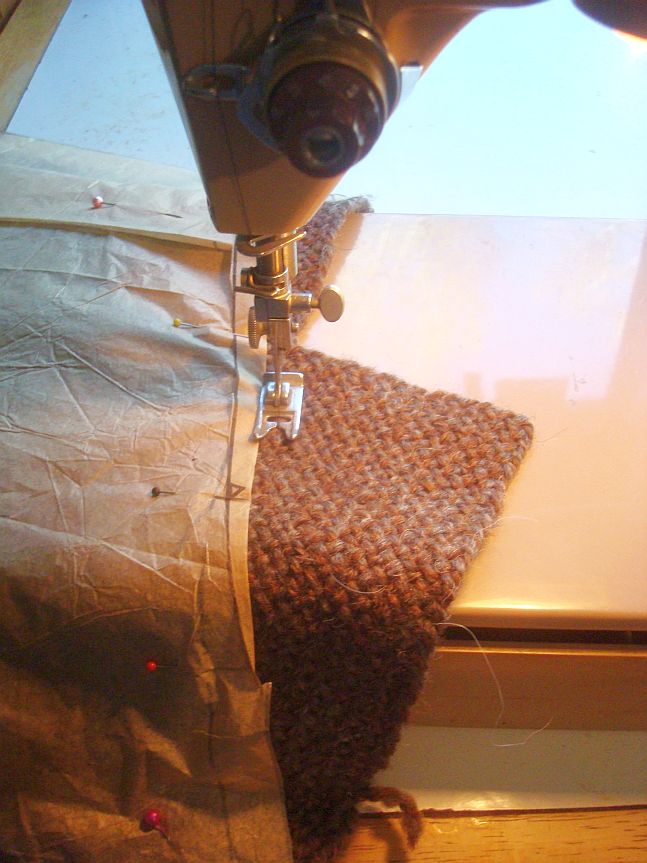
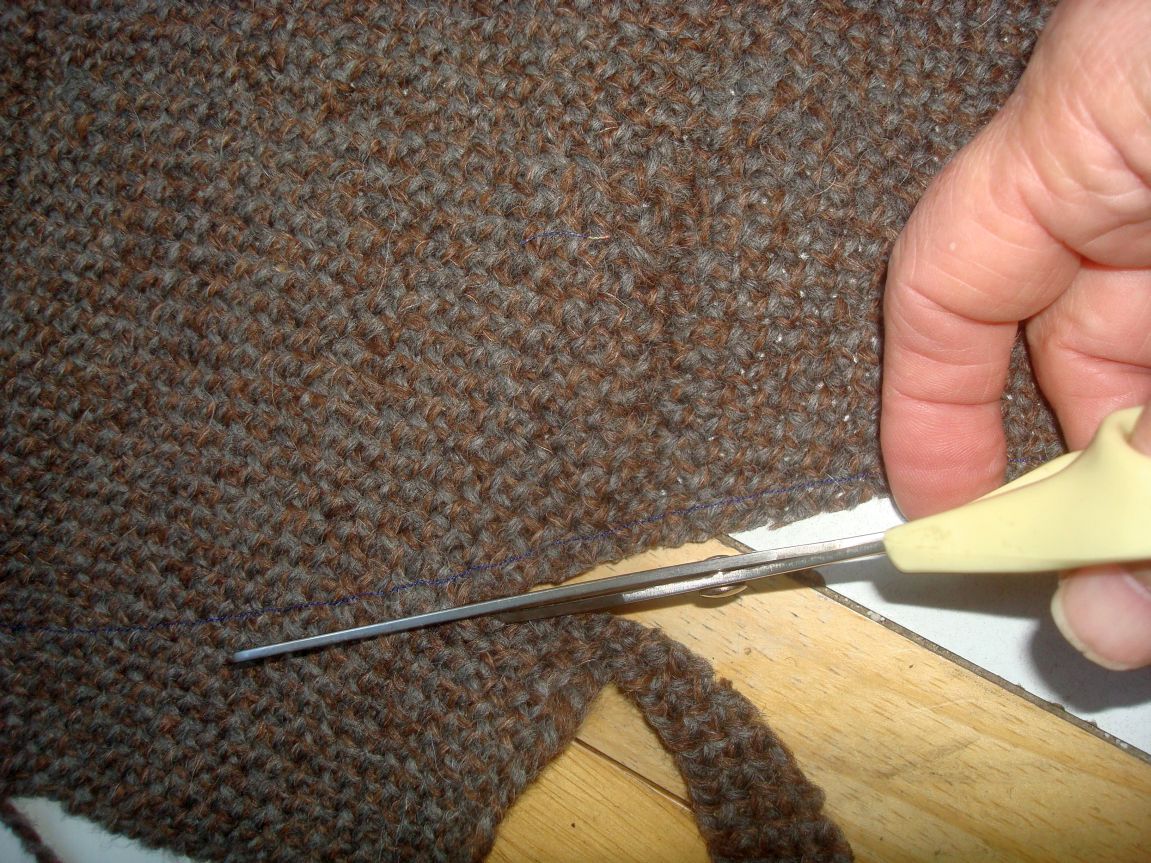
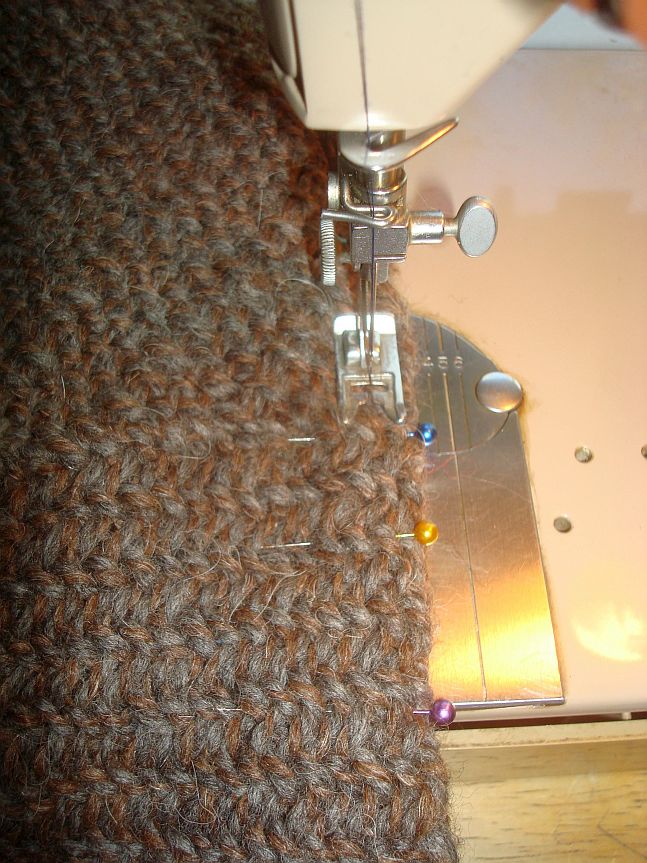
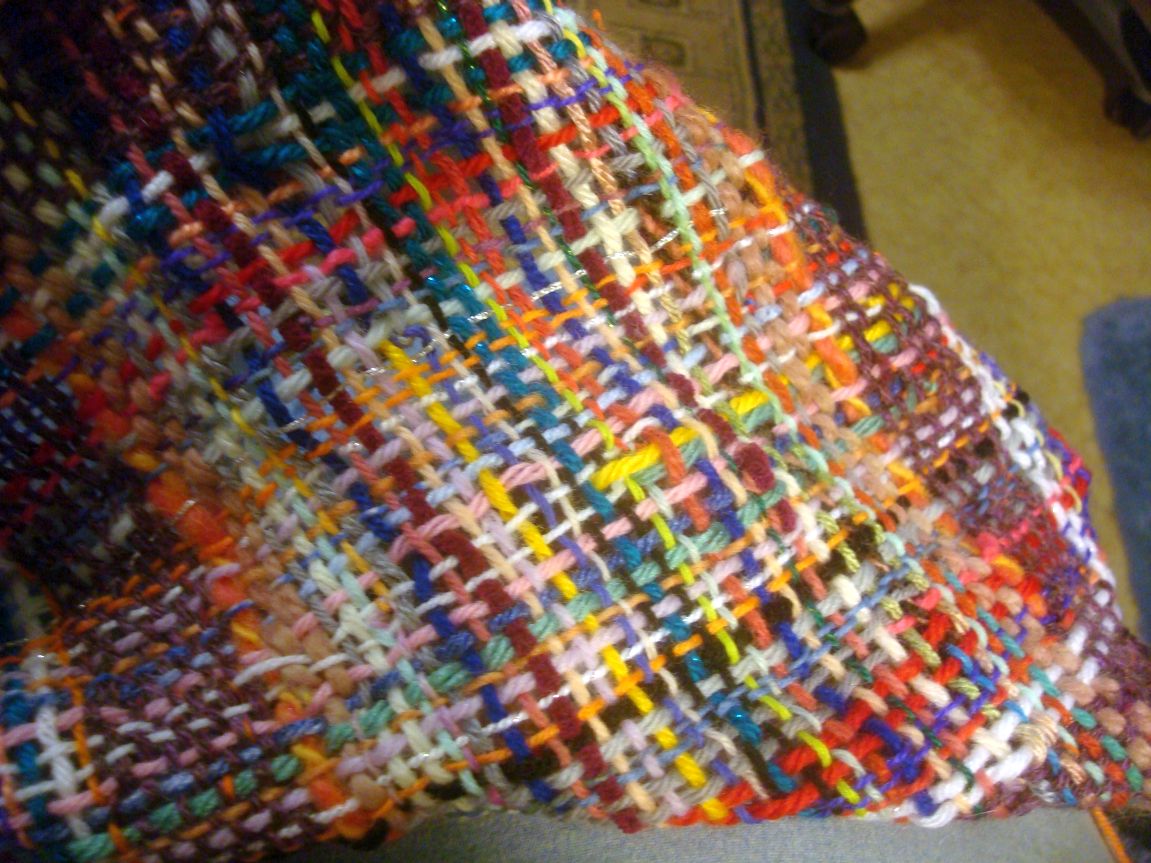
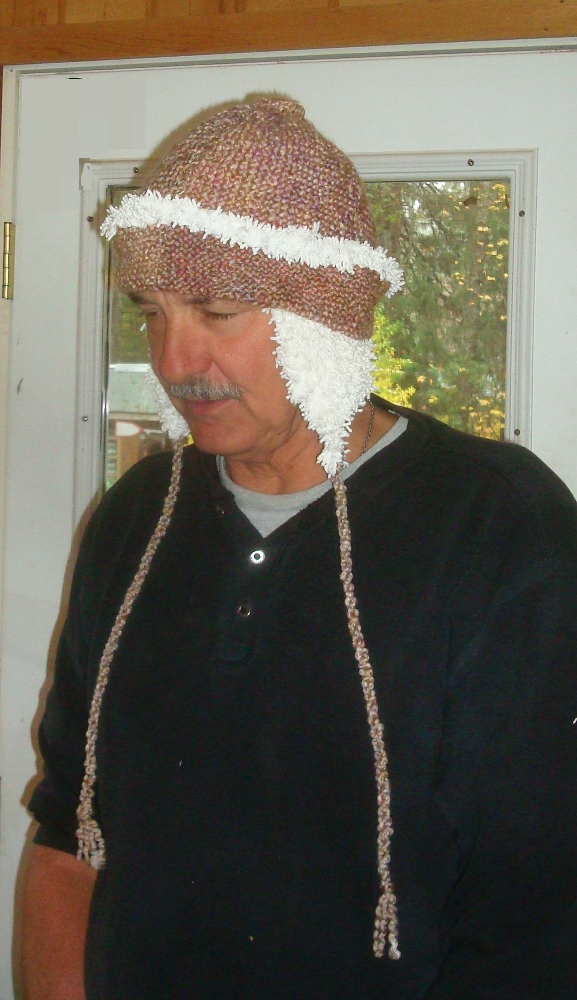
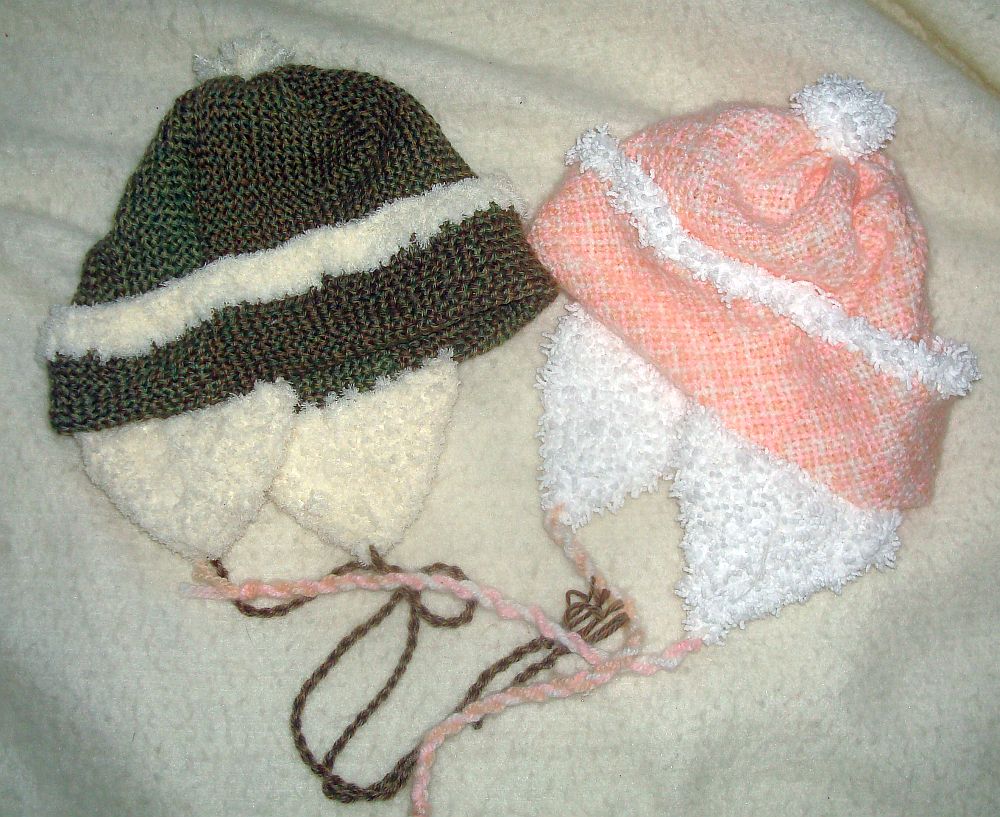
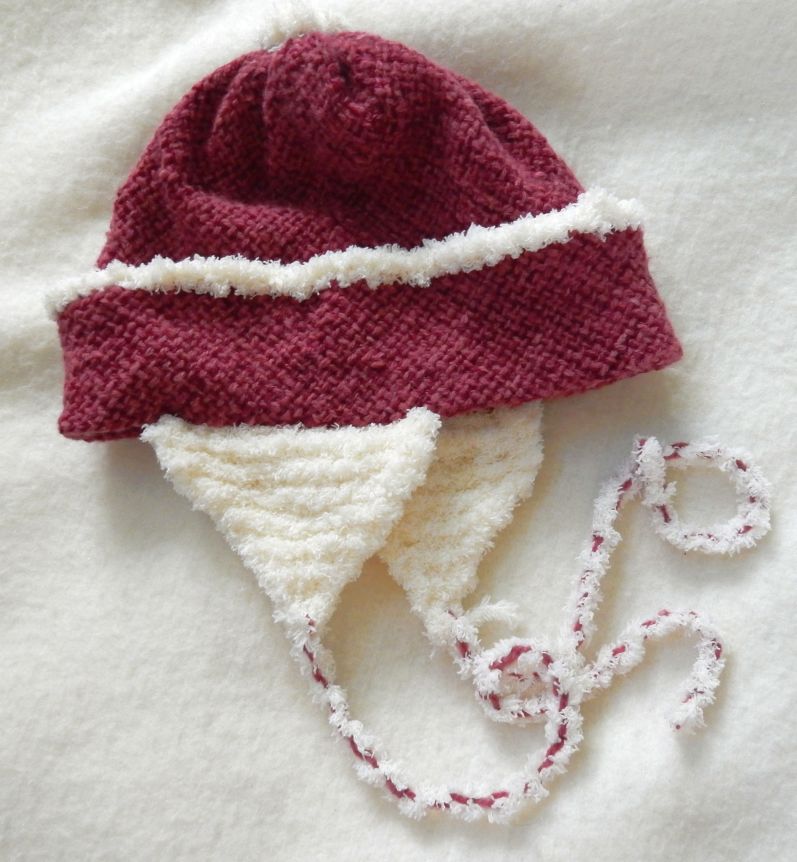
But I have been weaving, too. My Florida sis and her dh are among the expected guests and I kind of thought they’d be a little chilly up here, even tho the forecast says the snow level probably won’t get below 4000′. But, just in case, I made us all new ear flap hats! If you are on Ravelry you may have seen them already but I am going to share here anyway. Himself is modeling. But I wore mine walking the other morning when it was 24 degrees and I can tell you, they work!  And they are all, excepting the maroon one which is handspun wool, at least partly acrylic. All the earl flaps are a thick chenille-like acrylic/nylon and also very warm. If you think you might like to make one, you’ll need two 12″ squares and two 7″ triangles for the flaps, folded in half. The rest is trim.

ear flap hats man Randy

two more DSCN0013

So I hope this helps you have a warm Thanksgiving walk!

The other thing I am grateful for is having so many wonderful sharing weaving friends! Thank you all!

Turkey weavingHazel & Randy

Tri looming

There’s been some discussion on Facebook about making tri jackets and sweaters. I made this one years ago, before it began getting too small, those gremlins will keep doing this! Anyway here’s more or less what I did, using my adjustable triangle. These measurements are taken from the aged and much worn garment so are probably not too close to what it started as but will work as a guide since you’d have to make your own size decision. It will show how I put it together in any case.

Front: The large plaid tris are folded over at the shoulder front and back and the tip is folded back to make a cuff at the sleeve. The lines don’t always coincide with the photo but I think you can follow it. The one marked 10 inch is a small tri folded at the under arm to finish the sleeve. The points of the blue tris are folded under, the hypotenuse of those forming the hem front and back.

front layout

Back: The plaid tris are seamed up the back to about 5″ from the fold over, you’ll adjust that to fit you. The front opening and neckline are finished with a row of single crochet and one of reverse sc or crab stitch. This fit me pretty well back in the day. If you have a more rounded figure it may tend to hike up in the back a bit. I’ve gone to using the smaller looms as it gives me a bit more control over fit but this ought to be good for slimmer figures or for children.

back layout

I have a photo of myself wearing this but I don’t have a clue where it is. If I find it I’ll come back and add it. meantime, I hope this little bit of info is helpful to anyone wanting to make use of some nice handspun or even nice “store=bought”!  😉

On a role!

I was hunting something in Le Shed and found a box of demo shapes woven at fiber fairs and am putting them to work. Got out a sewing pattern for a vest and  started putting shapes together. Not exactly free form but at least random. It will be another colorful bit of clothing. Got both fronts mostly together and will start on the back this afternoon.  Goes pretty fast since the weaving has already been done, just a matter of laying it out. I think this time I’ll just crochet in whatever little missing bits I might need.

But first I have some shop work to take care of as someone is waiting for their looms. Go get out your UFO’s and start putting something together!

DSC03419

DSC03414

More cardigan progress

I finished weaving the tris for the sleeve yesterday and as I had the sewing machine set up for something else, I decided to take advantage of this cool morning to put it to use again.

The woven blocks for the sweater, pin the pattern carefully over. I guess I didn’t get the photo, but  next sew at the edges. Use lots of pins and give you fabric support. You want it to lay flat so it doesn’t distort. Remember this one is bias woven.

sleeve A sleeve B

Once you have sewn all around in a contrasting color (it’s not going to show) carefully cut just outside the stitching.


sleeve C sleeve D

Pin closely! The more the better, especially on any bias squares that have not been stay stitched. The sleeve did okay, but sewing up the sides needed lots of pins. Again, support your fabric so it does not stretch or distort. In fact, if this is your first project of this type, it may be a good idea to baste all of these seams and try the garment on, to be sure things are as they should be before committing it to the machine which is Much harder to undo.


sleeve F

And here it is with the sleeves in.

DSC03289

What’s left is the front button bands and the cuffs. However… Being the mature figger that I am, it is a little snug around the… er… hem. So I think I may have to add a bit in a A-line sort of way, to the front placket first. Have not quite thought that out yet, so still more waiting before I have a finished item. Still, making progress by leaps and bounds!

Do any of you have projects to show me? I’d love to feel I’m not all alone here!


Meantime, a little fun project!

The windsock I made in April of 2008 has finally did what the plastic bag makers told us they would. It’s on it’s way back to it’s component parts. I tried to save it, but it was falling to bits as I worked . Then my eye fell on the basket of yarn snippets and scraps. The birds have never shown any interest is using this lovely nesting material so….


DSC03267 DSC03268


DSC03269 DSC03270

You can see that there were all sorts of bits in the basket, lace to bulky, wool, acrylic, mohair, cotton… I picked randomly and decided on the spot if it was long enough. It’s mostly pieces from about 4″ to several yards in one case. And I decided that the knots were a design element so pulled them all to the right side.


DSC03271 DSC03272

But the knot-less side looks good, too. The green is a  square I wove for the one that just ‘died’. If you have a stash of fairly young bags  they do make light and fluttery wind socks. Mine lasted 7 years. I have no idea how long the yarn one is going to last. They all get exposed to all sorts of weather.


DSC03273  ShoppingBag 4-2008


And here it is out on the maple with the remaining plastic bag one. I still have a small ball of this knotted yarn so there might be more coming. After the cardigan is finished, of course!

DSC03274